Trailer tack room organization
| April 26, 2017 | Posted by Melinda under Equine Endurance, Trailer |
The most important part of this post is where you don’t laugh at my “ingenuity” – i.e. red-neck git’er done technique – of creating horse trailer organization.
I haven’t yet summoned up the courage to show my husband. Several months ago he replaced the flooring in the tack room – pulled up the old carpet, carefully scraped the floor, and perfectly cut some left over rubber interlocking flooring to fit back in. It’s lovely.
I’m not so sure he would say the same about my….”storage creation” scheme, or the cowhide rug now covering the floor….
🙂
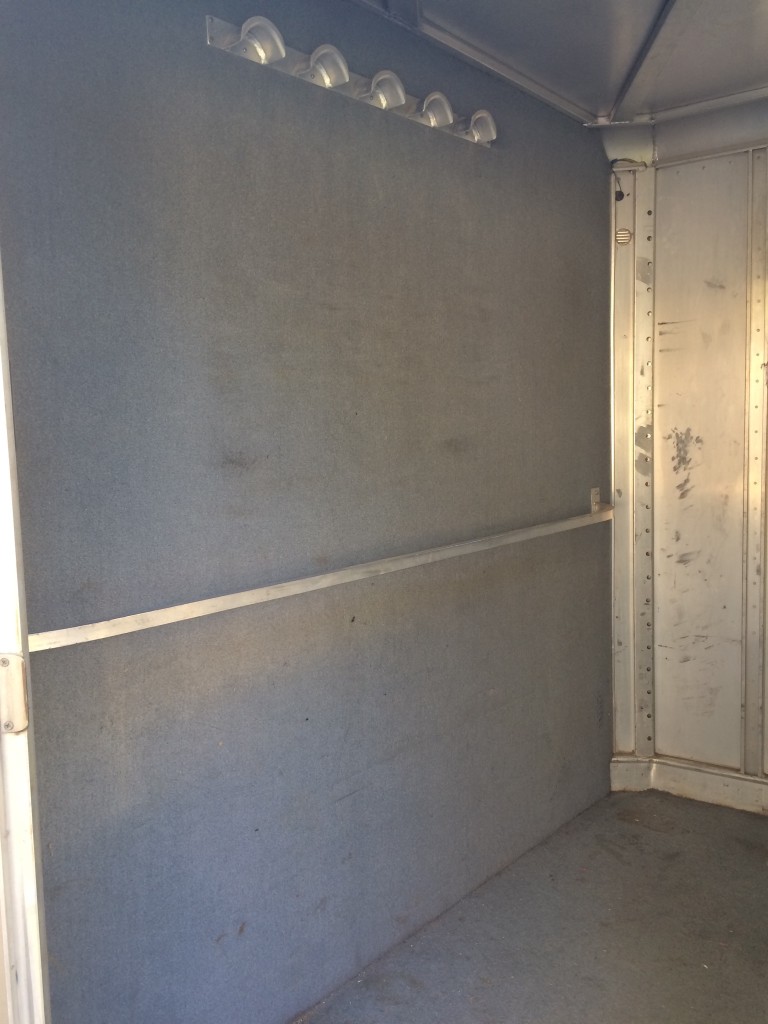
The tack room in my trailer is huge but lacked anything but the basics for organization. It came with…a handful of bridle holders, 2 saddle racks, and a fixed bar. That was it.
I asked for Lowe’s gift cards for Birthday/Xmas for the project and I’ve spent 5 months thinking about different ways to modify the interior that wouldn’t require me to drill additional holes into the walls, use adhesive that will melt in the summer, and doesn’t rely on magnets (the joys of an aluminum trailer!).
Goals were:
- Minimal stuff on the floor.
- Functional for short day trips AND endurance ride weekends
- Stable for *most* driving. Sure, if I have to go into ride camp on a bumpy road I expect there to be some disarray….but not for typical road driving.
- Storage space only 85-90% filled. Open space is important!!!!!
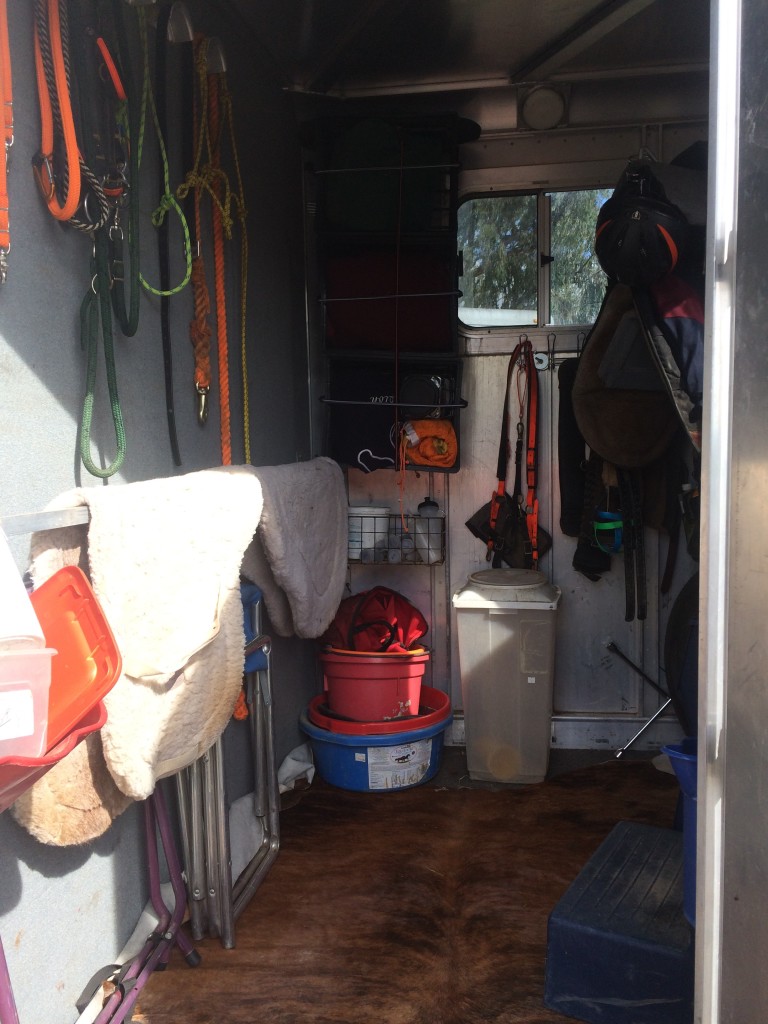
Here’s what I came up with.
Before/After
Before/After
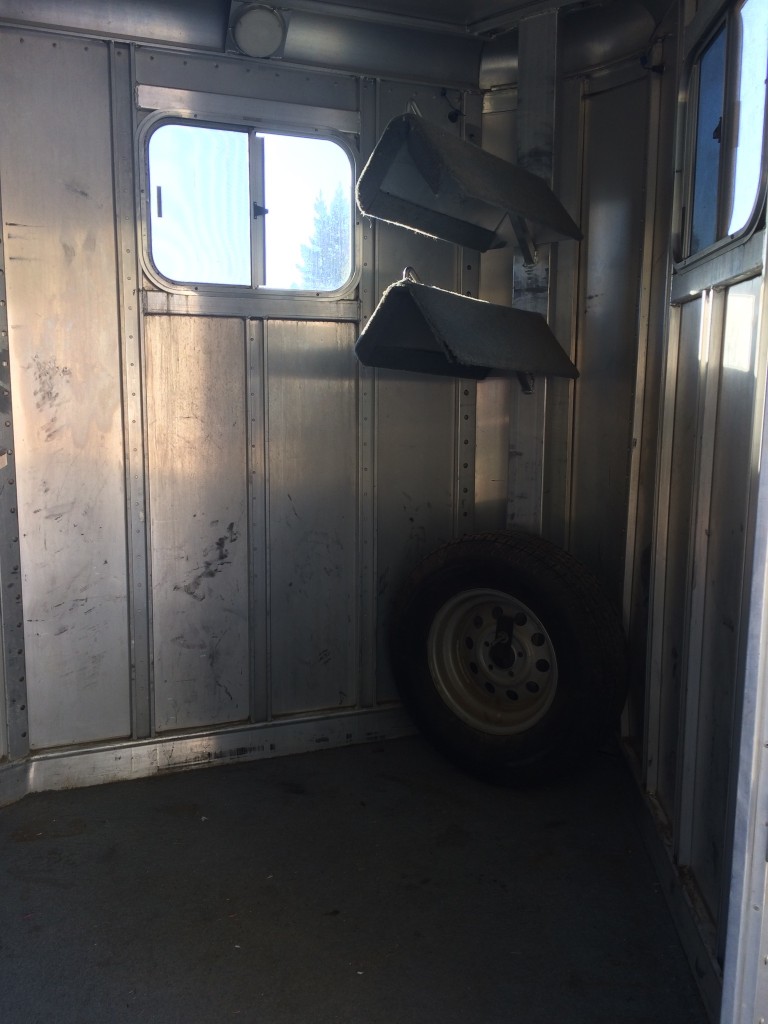
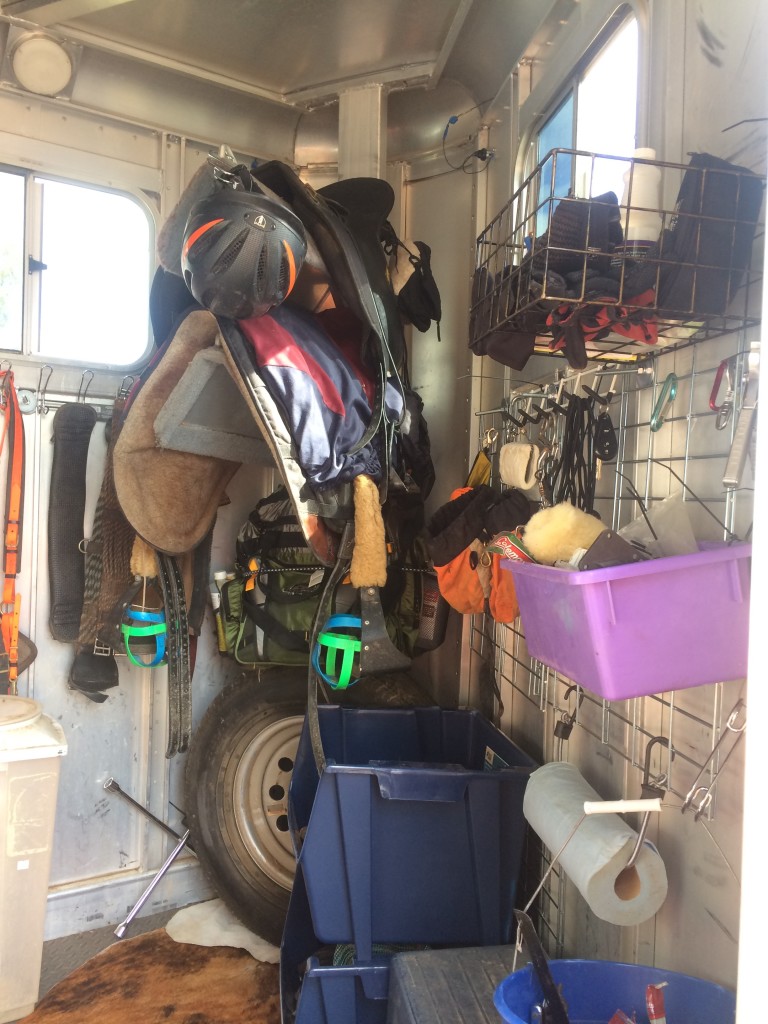
Here’s what I did
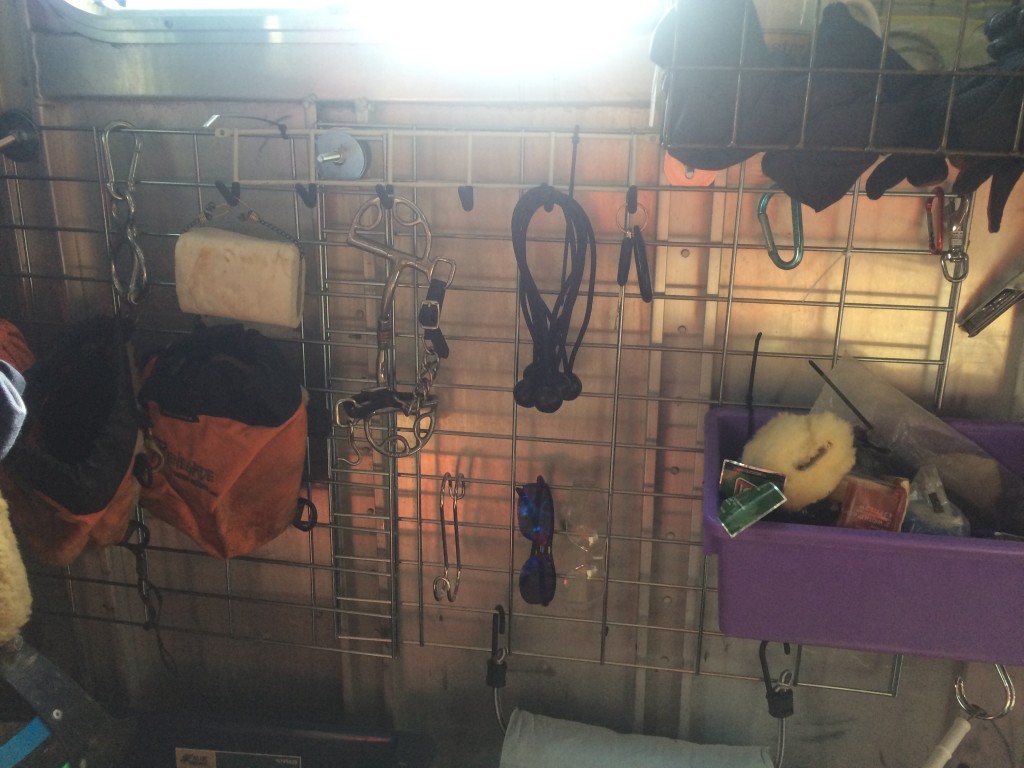 This is two welded wire panels that I bought for $5-6 at Lowes (you can see where they overlap in the middle of the picture). They are bolted to the open channels using a combination of bolts, washers, lock nuts, and nuts. Anything with a clip can be stored here. I keep a bunch of extra clips and spring clips to attach small stuff I don’t want banging around in a container.
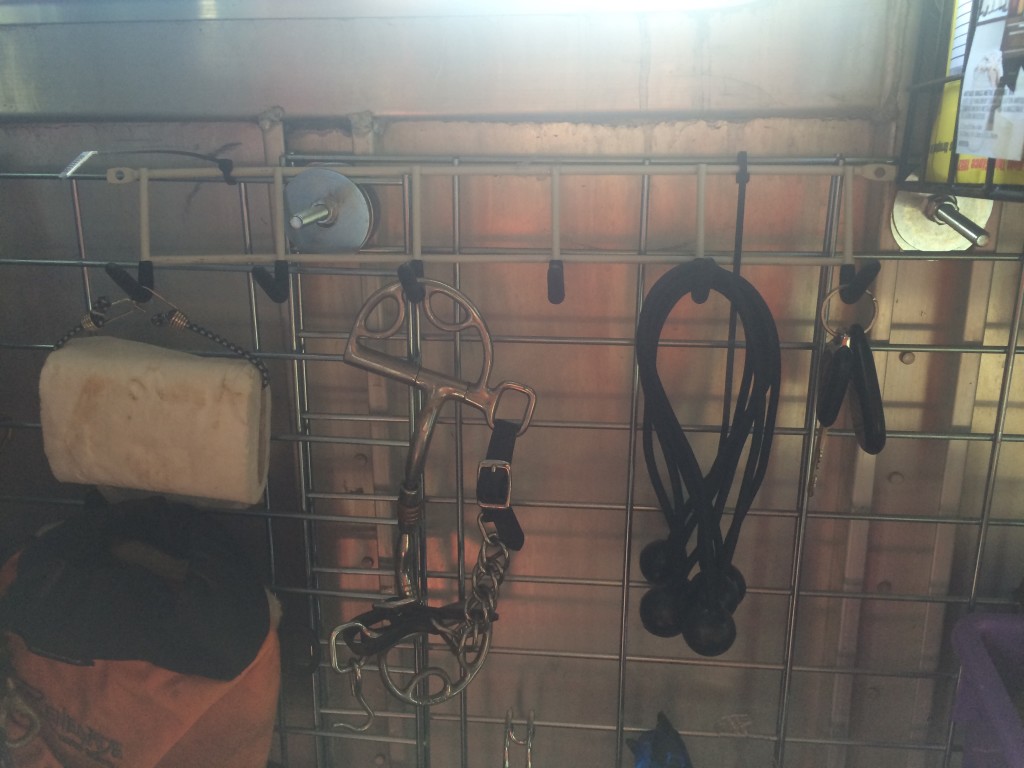
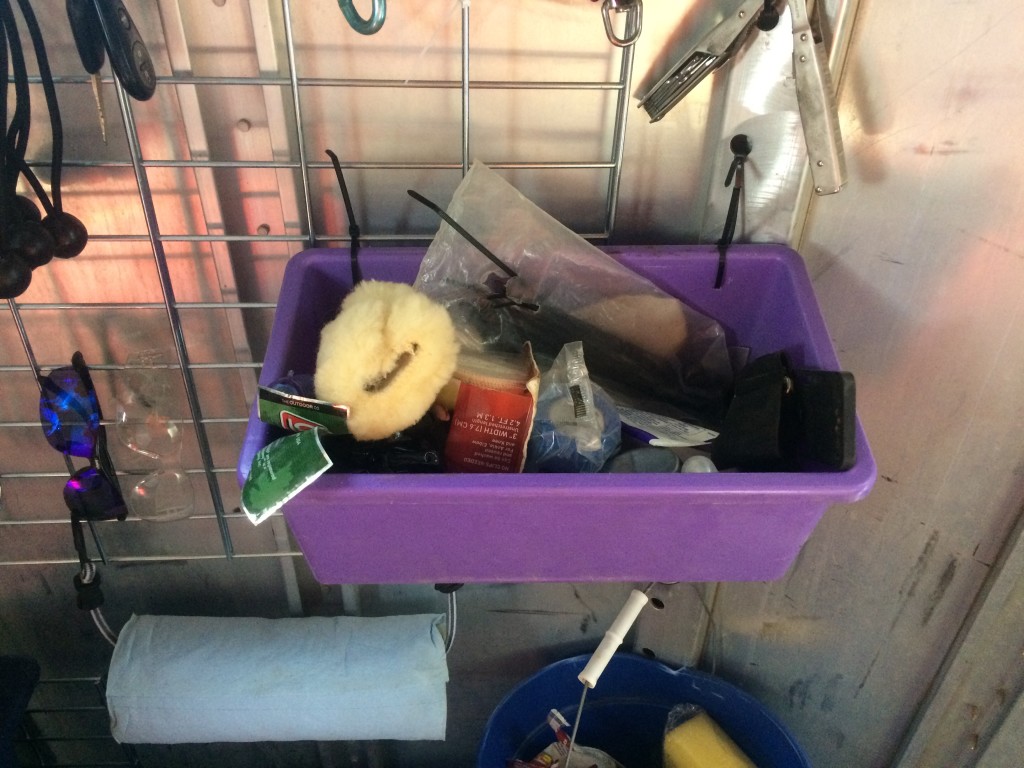
This tack room brought to you….by a sh*t load of zip ties. Here I attached a small rack to the wire panel to hang stuff. Yes, that’s toilet paper on a mini bungee cord.
Small rider essentials in a small plastic bin I drilled holes into.
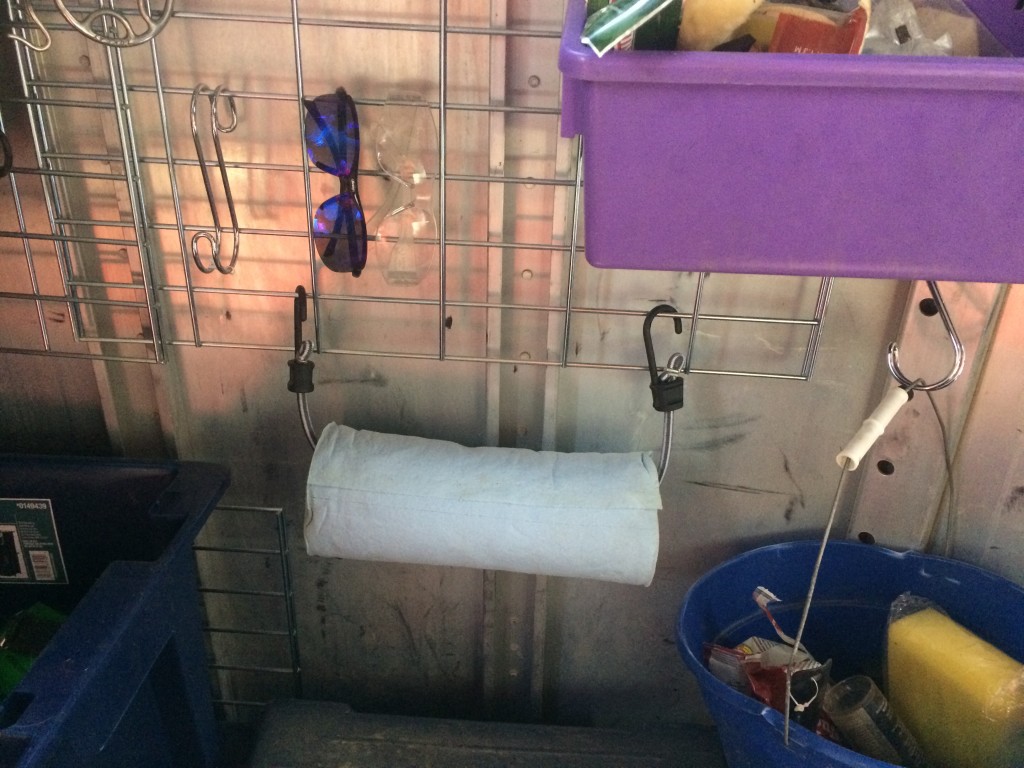
Bungee cords are your friend. Yes, they go bad and disintegrate eventually – but they were cheap and sometimes things don’t have to last forever.
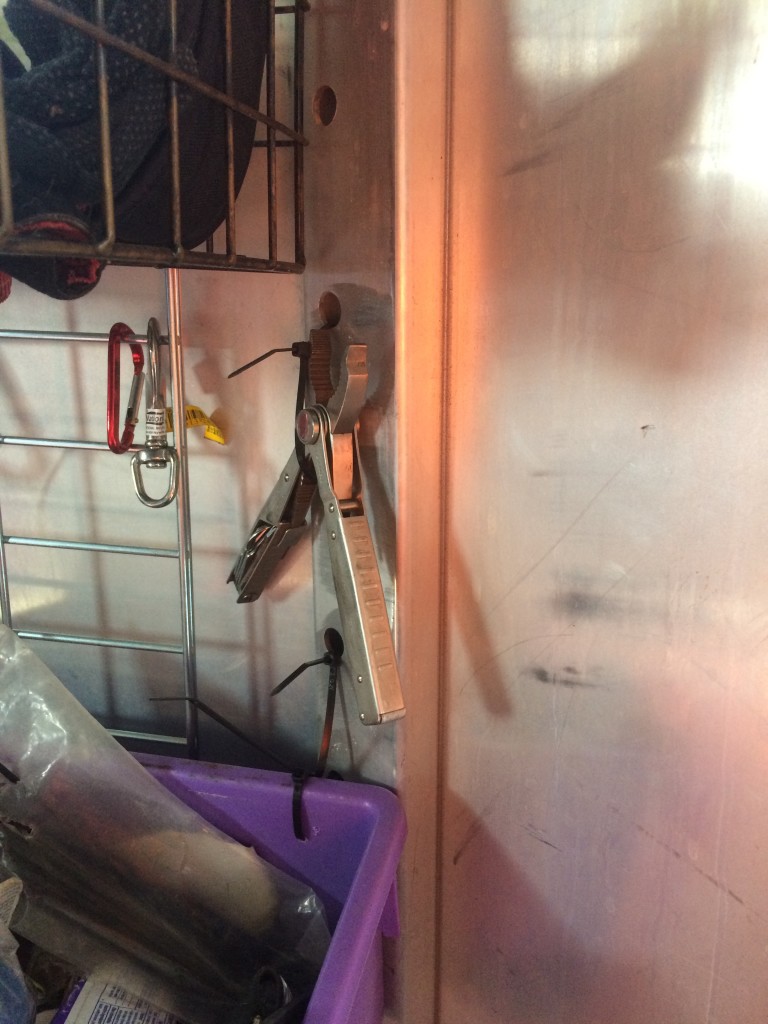
I can’t use the washer and bolt system the channels with just holes, but I can use zipties to create loops.
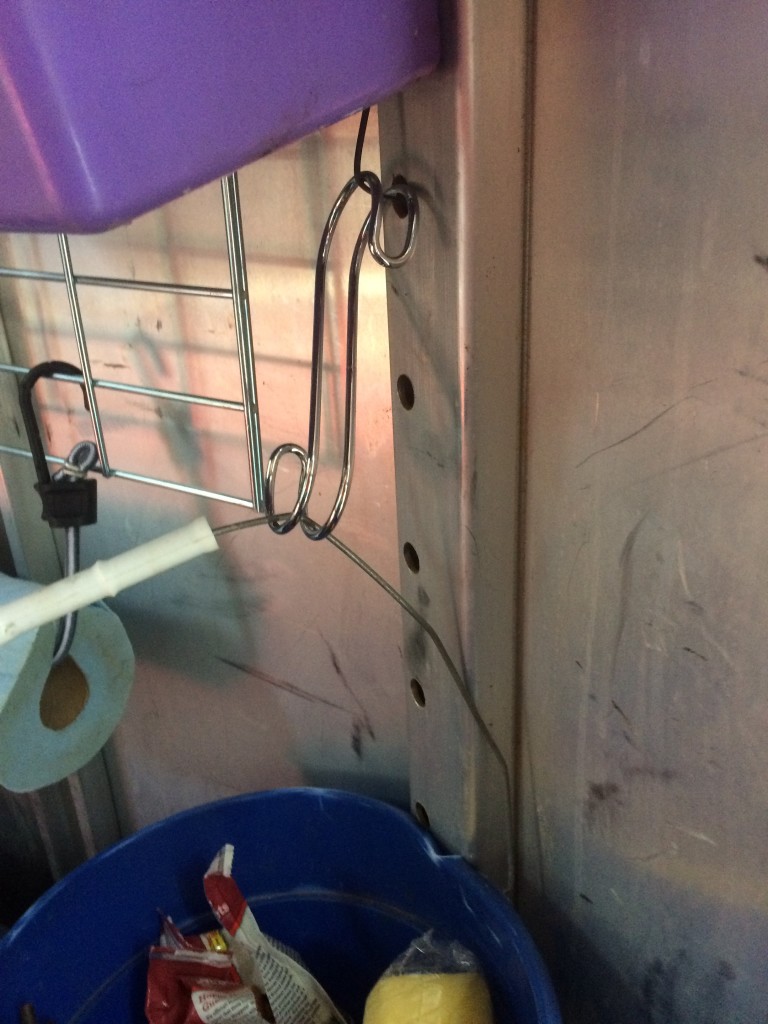
These hooks were about $1 and they worked well to hang things I need to remove often to use. Grooming bucket….
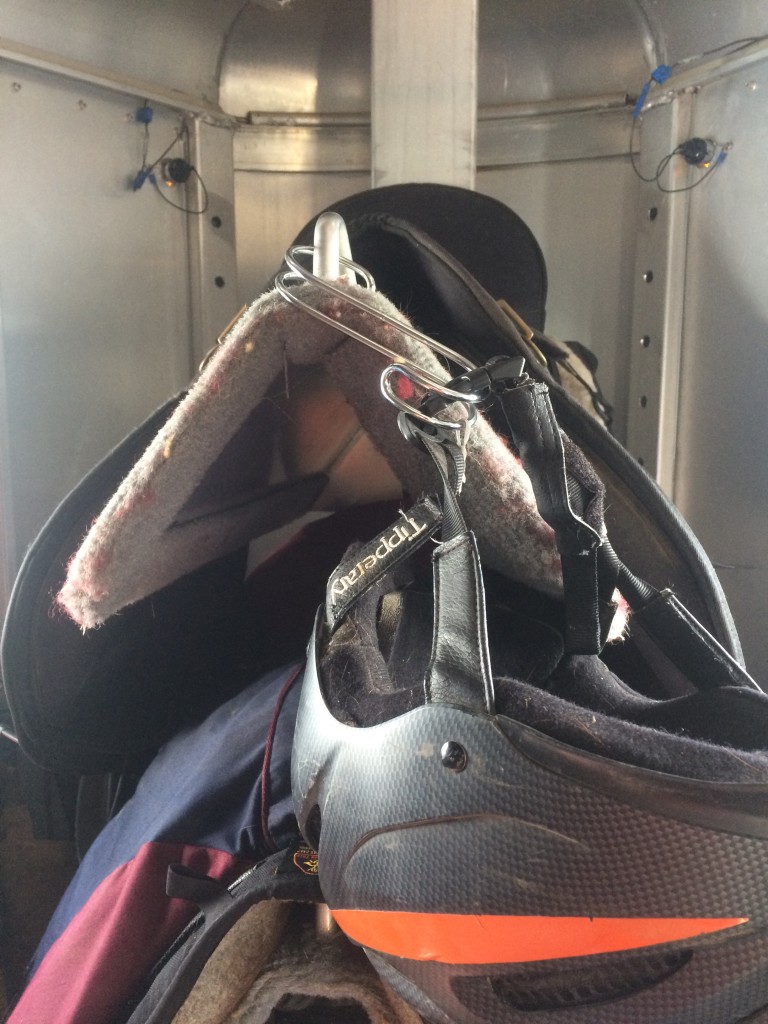
….Helmet…
…basket up high for light weight stuff that I can easily take down and carry to a washing machine. Theoretically. If I ever washed any of my tack….
Moving on.
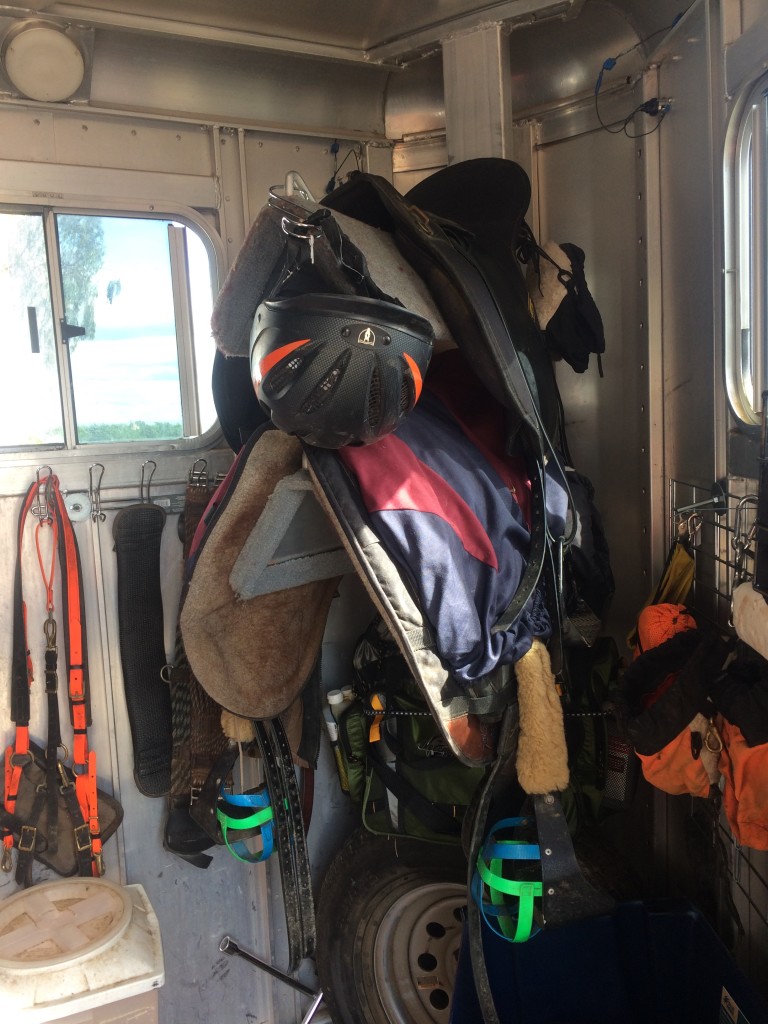
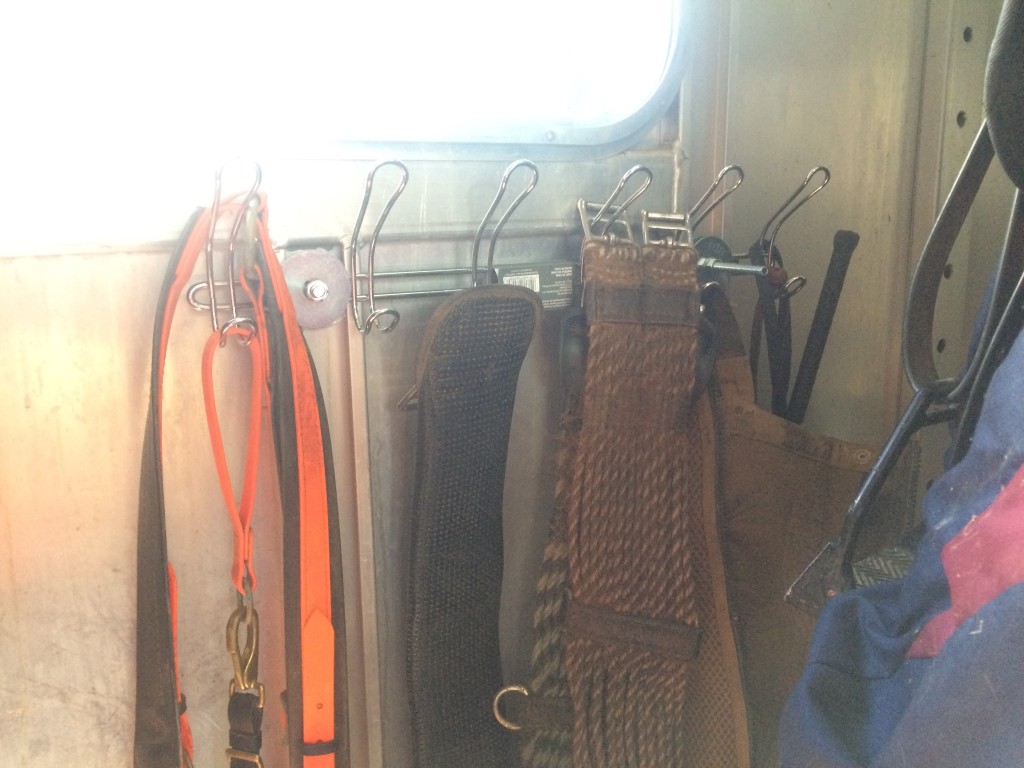
I really like this rack. I might put another one in somewhere.
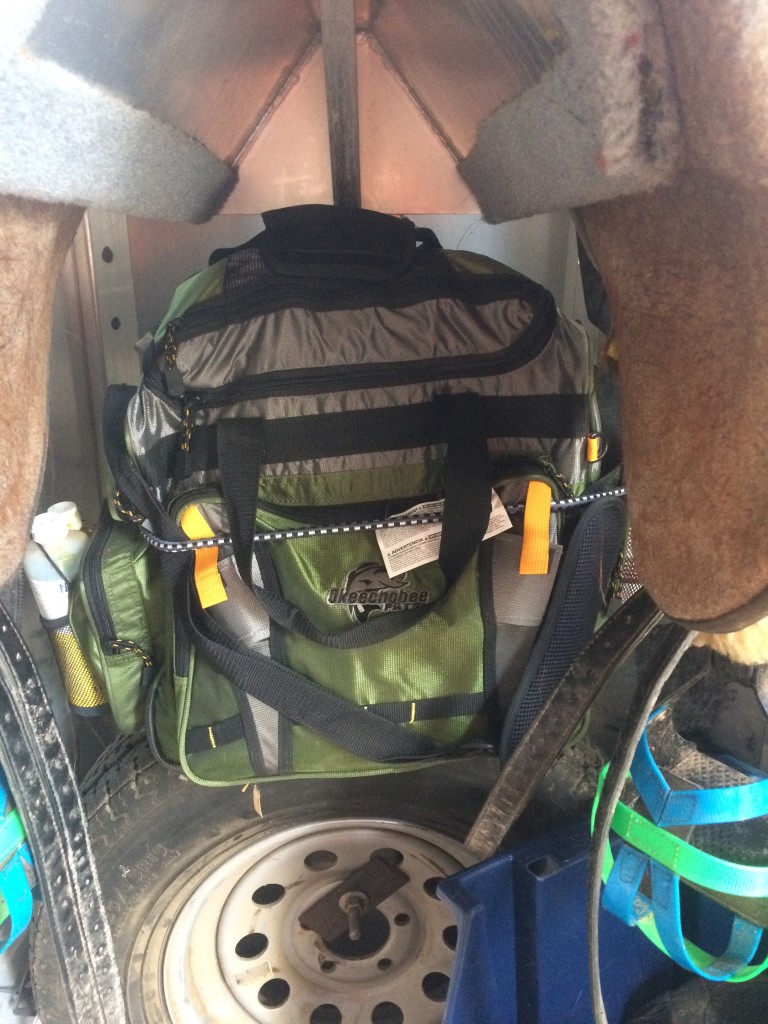
First aid kit on top of spare underneath the saddle rack. , bungee used to keep in place.
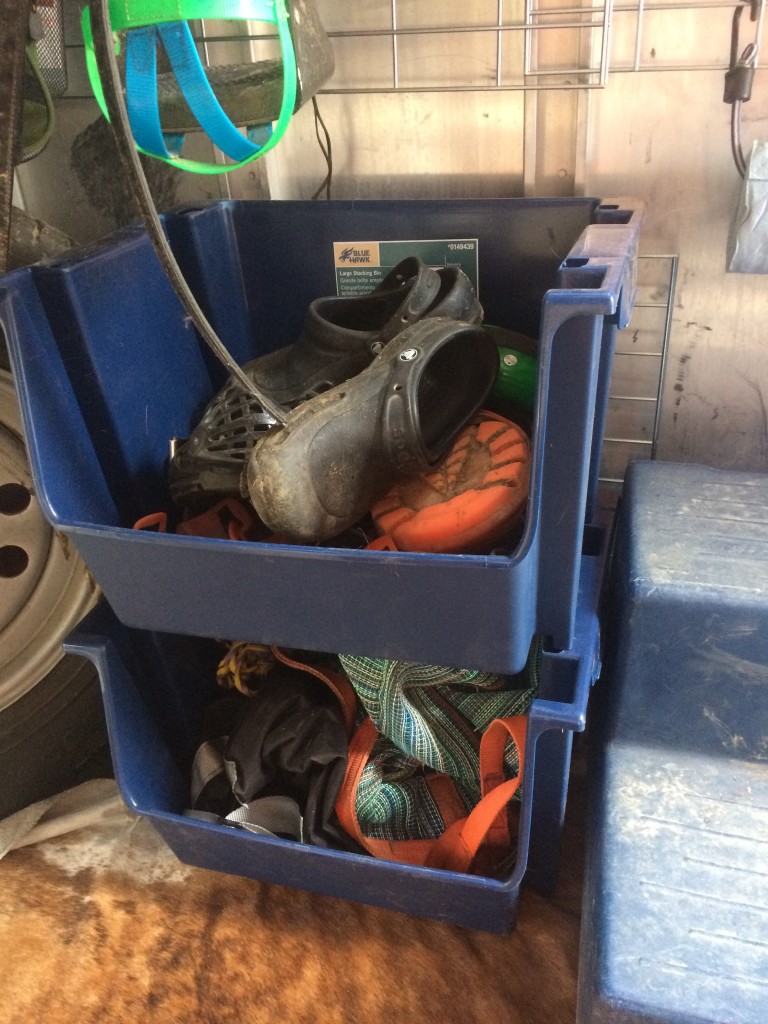
These were kinda expensive. $12-13 apiece. But, they are a nice size, really stable, and I think they will be durable and versatile.
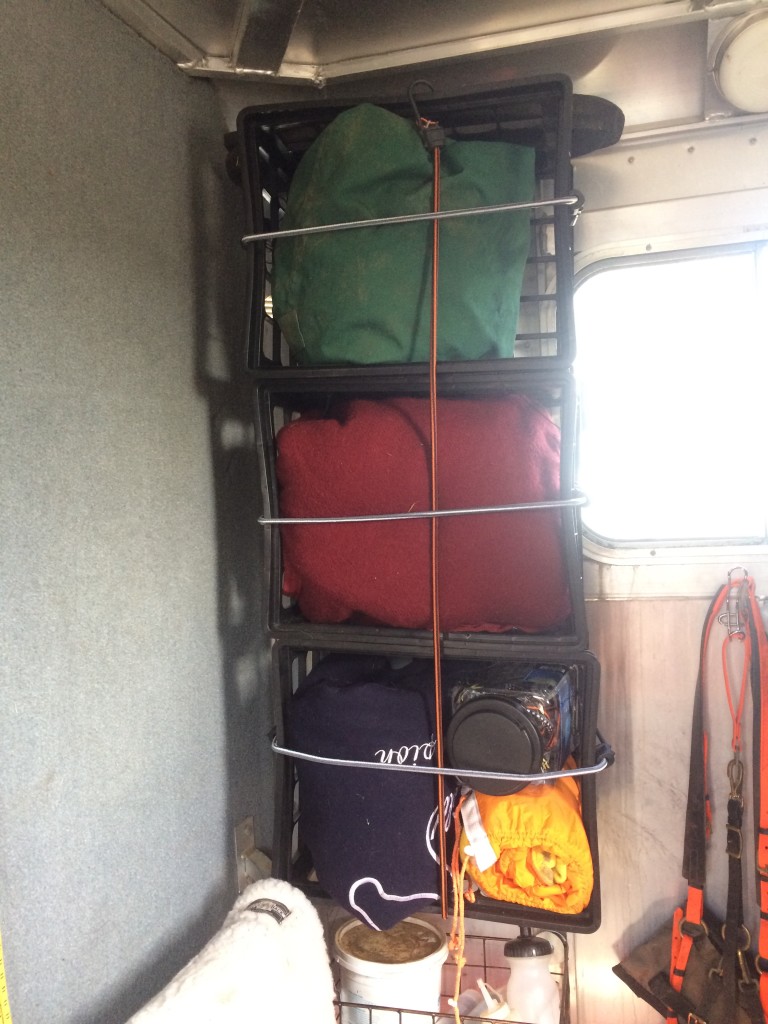
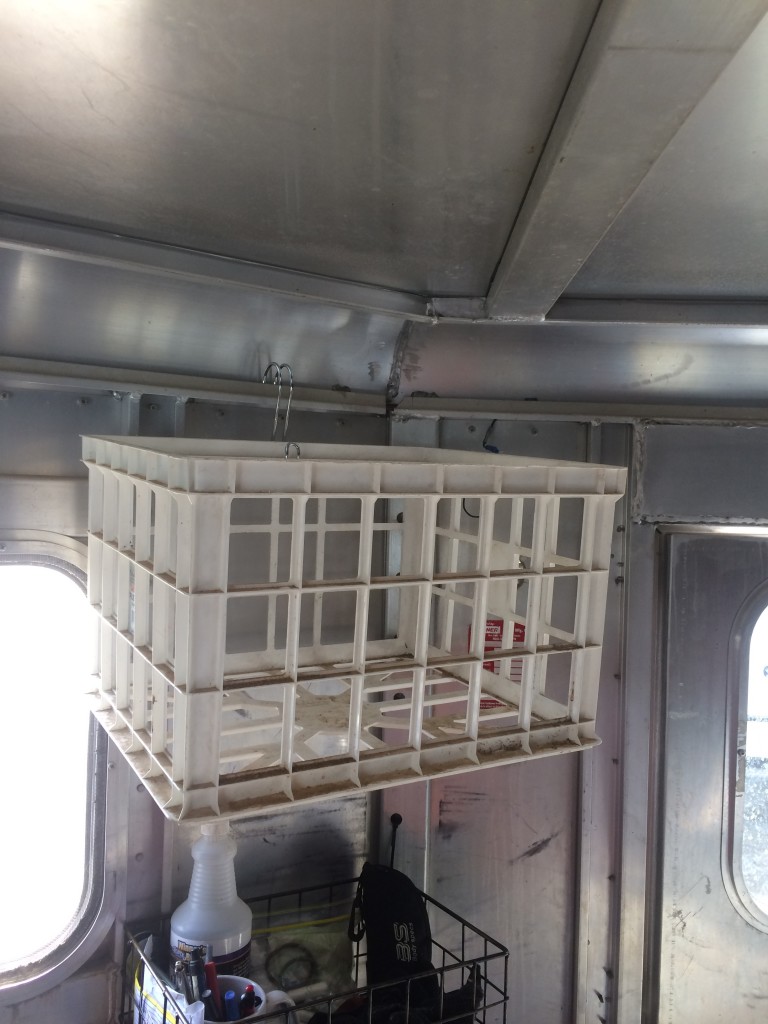
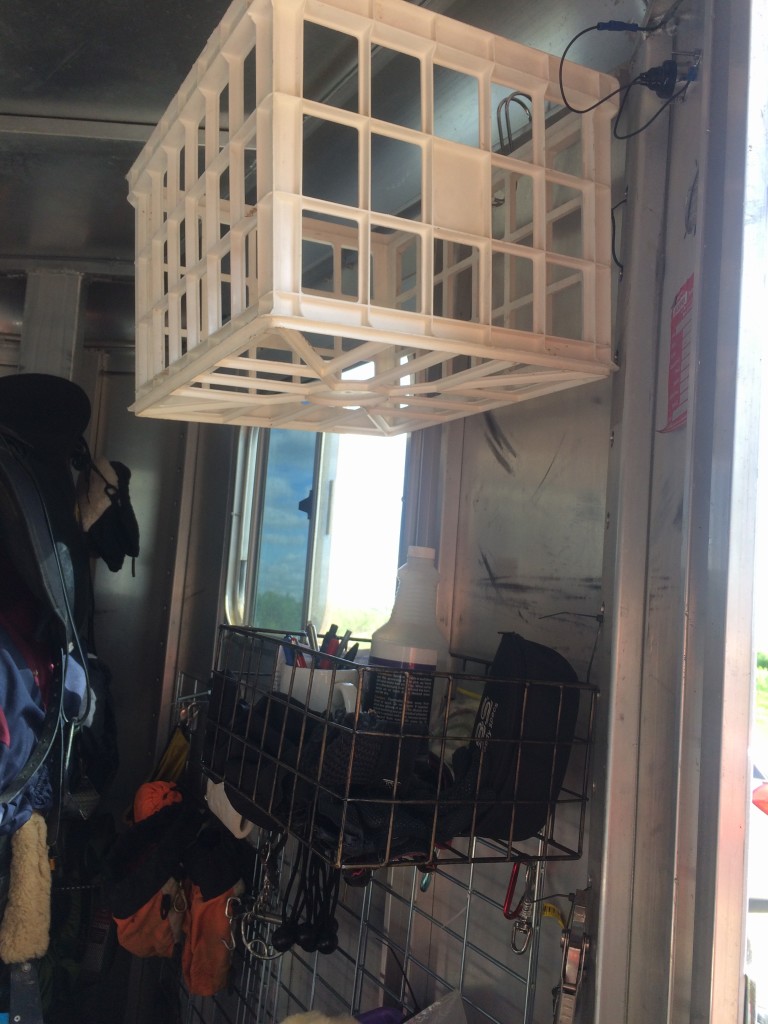
I’m really proud of this one. Cheap milk crate zip tied and bolt-washer’ed to the trailer with bungee cords to keep stuff in place during motion. That’s my blanket solution to keep them in reach, easy to use, organized, and OFF THE FLOOR.
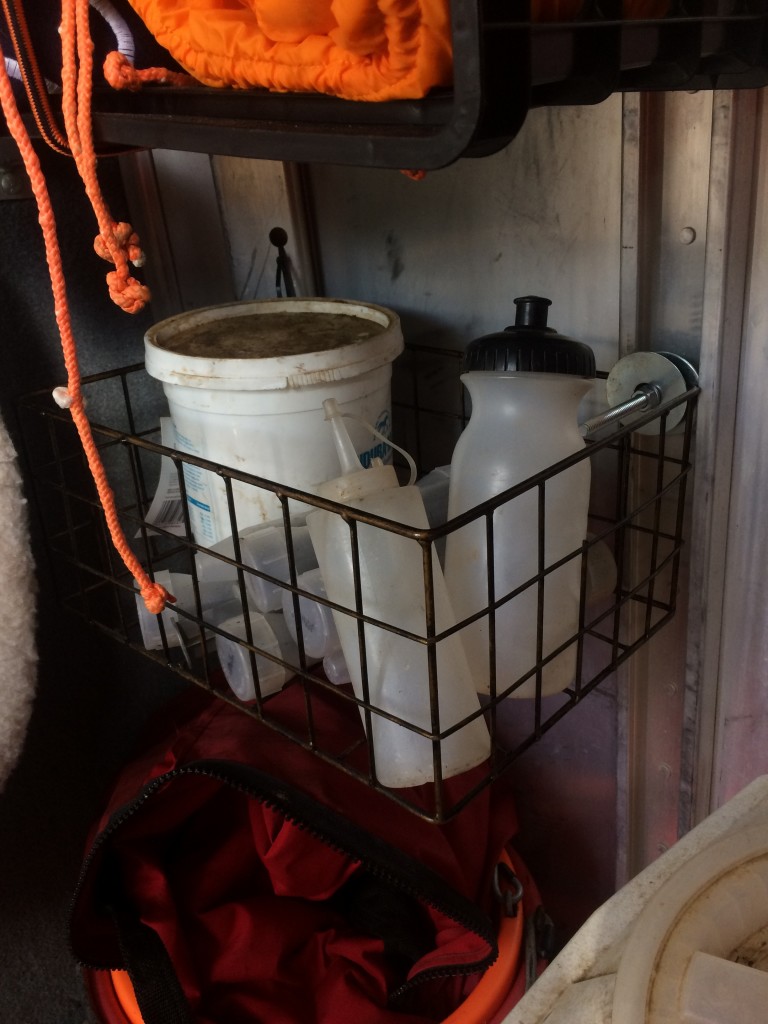
A couple of wire baskets. They aren’t as useful as I hoped because a lot of my stuff falls through the wide gaps. These were one of the first organizer things I bought for the trailer a couple months ago and I probably wouldn’t re-buy them. Other alternatives do the same (even better?) job for cheaper.
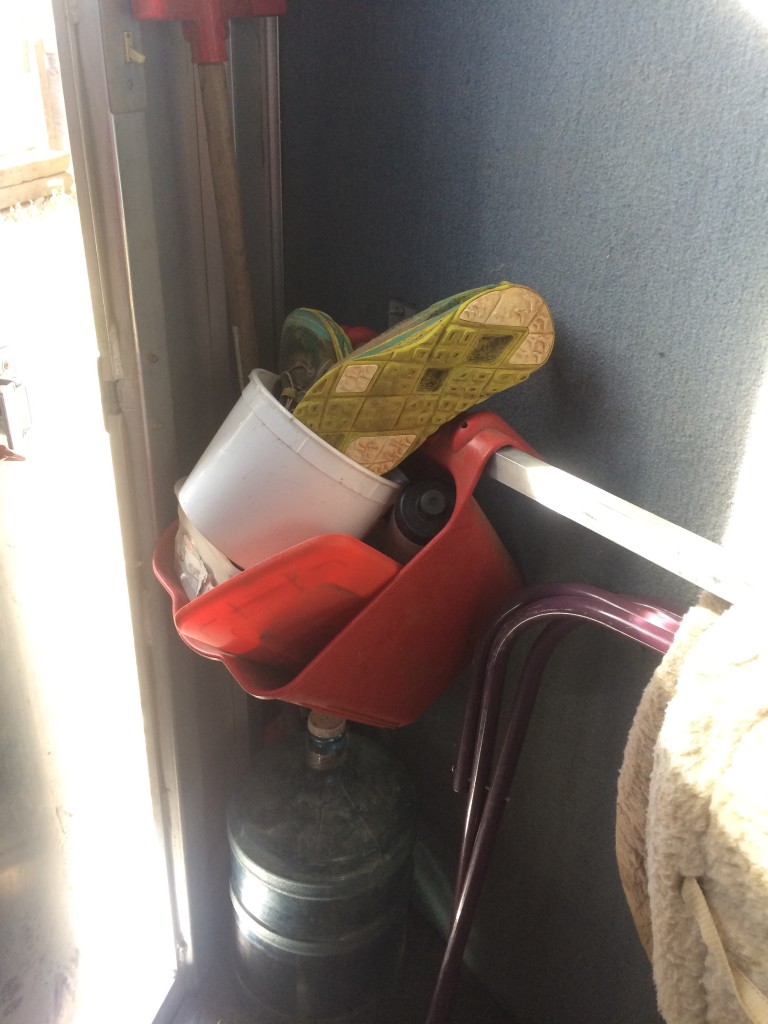
Trash or other temporary storage. The bar was constructed differently in the Logan trailer and hanging buckets worked better in that trailer. (trash was thrown away after I took this picture, so now it’s an empty bucket that can be used for whatever).
Feels good to have this project done! I’m sure there will be some tweaks as I put more miles on the trailer (and I still have gift card money left!) and if I think a follow-up will be helpful, I’ll share (and maybe even show my *husband!)
*He’s a carpenter and builds stuff for a living. I am not. I try not to add to him work-load at home. He sometimes has raised eyebrows at the *creative* solutions I come up with due to my limitations – very little patience, not detail oriented, and avoidance of measuring/leveling or anything that has to do with a skill saw.








Love it!
I have an aluminum trailer also and am confused how you got the bolts on with out making holes in the trailer? To you have any pictures of how you connected the bolts?
I got the idea of how to attach the bolts to the trailer from my friend, and she posted a bunch of pictures on her blog. I think she does a good job of showing how I did it! http://trails-and-trials-with-major.blogspot.com/2016/09/trailer-modification-hanging-stuff.html
Wow, Thanks.
Wow, what a great job! Love the size of the tack room. Love the use of your bungee cords. I do a lot of “creative” things in my barn with them and other things easily attainable. (Trailer also) For much the same reason, do not need to add to the “honey do” list. I like the blanket idea! Easy to see & grab, yet stays put. Thanks for sharing this. 🙂
Your tack room is huge! I wish mine were that big. We’re slowly working on fixing ours up and reorganizing it. I am thinking about adding some of those wire grids to hand stuff from.
It’s one of the major reasons I was unhappy with my previous trailer. My first trailer had a tackroom this size and it’s great to have it back.
Looks great! I use the same bolt/washer idea. Love that you can hook everywhere, and move stuff around too. And off the floor! I think my baskets have smaller holes, but I can see stuff falling out if they were too big. Zip ties and bungees are so great. Awesome job!
Your washer and bolts system was ingenious. I had a hard time finding washers big enough at Lowe’s but I finally found some stainless ones that work. The bolts I found to go with them are way too long so I have to cut them off. I’m not sure if you used lockwashers with yours underneath the nuts but they helped a lot to get everything really snug and so they won’t back off as bad
Under the cowhide there is a floor of those lightweight rubber interlocking tiles.