Blogger RnT practice
| May 4, 2014 | Posted by Melinda under Most Popular, Ride and Tie |
Funder and I have some wild idea that we are going to do the long course RnT championships together in early July. Getting all three members of the team to the start line is so complicated but that’s the plan so far, Lord willing and creek don’t rise.
(Seriously, the reason I’ve only managed ONE ride and tie a year is not for the lack of love for the sport, but because of the sheer logistics of the whole thing).
Funder and I decided that since the *plan* is to use Farley, and since neither Farley nor Funder have ever tried the sport, perhaps we should practice.
You would think that 1 horse and 2 people would be less complicated than meeting up for a conditioning ride with 2 people and 2 horses. Ummm….you would be wrong. They are called ride and tie practices, not ride and tie conditioning rides like we do in endurance because there is very little conditioning that goes on. Instead, it’s like trying to spay a dog for the first time IRL after being given a class lecture. Technique, logistics, and equipment set up – the devil is in the details.
It took us an HOUR to get everything set up at the trail head and that was with me and Funder being the same stirrup length.
I know there may be some people out there who have always wanted to try this with their horse and a friend, and while I was lucky enough to learn with a really experienced mentor and her horse, you may not be as lucky. So, I’ll go into some detail about the logistics and some tips and tricks in this post. For the rest of you, there’s pretty pictures! And some witty remarks!
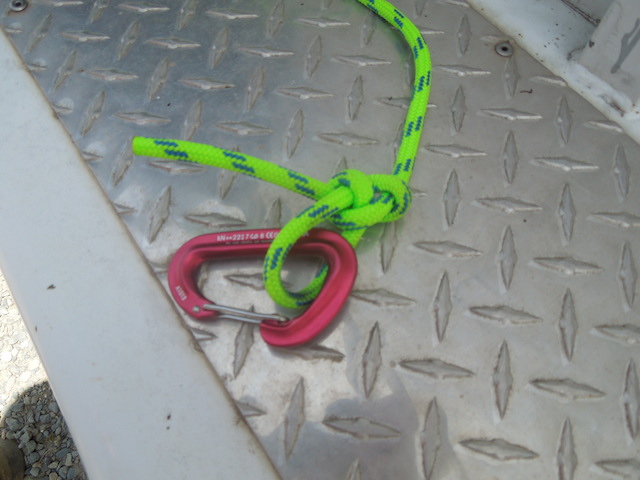
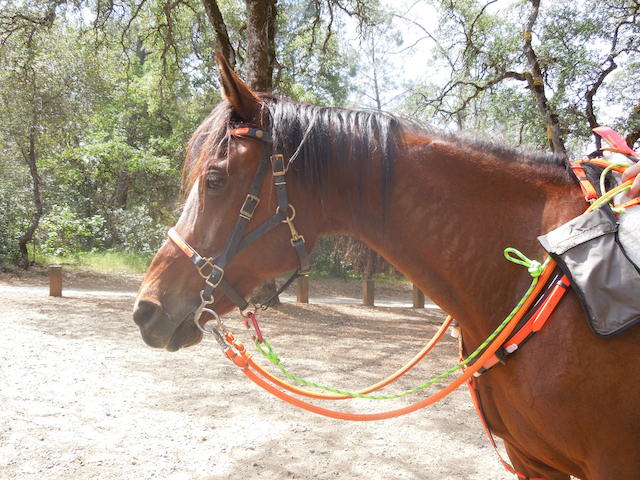
Funder brought me 7mm climbing rope and a carabiner and we created our tie rope.
Tie ropes are very personal. It can be an endless source of aggrevation, or a thing of beautiful functionality. Funder had done her research by consulting with another endurance/RnT friend (read her blog here) and I had been using M* and Stashi’s for the last 2 years.
I estimated various lengths and knot placements and by complete luck we created a tie rope that both me and Funder were perfectly happy with.
I measured off approximately 2 full span arm lengths of rope – probably about 10 feet. I put a bowline knot at either end and a carabiner. One carabiner was a “real” climbers one, and the other was a cheap knock off. It’s fine balance between wanting the horse to be able to break away and not wanting something to break and release the horse who is being an idiot at a tie at the beginning of the race.
One carabiner snapped to the halter, and the other was on the tie end of the rope.
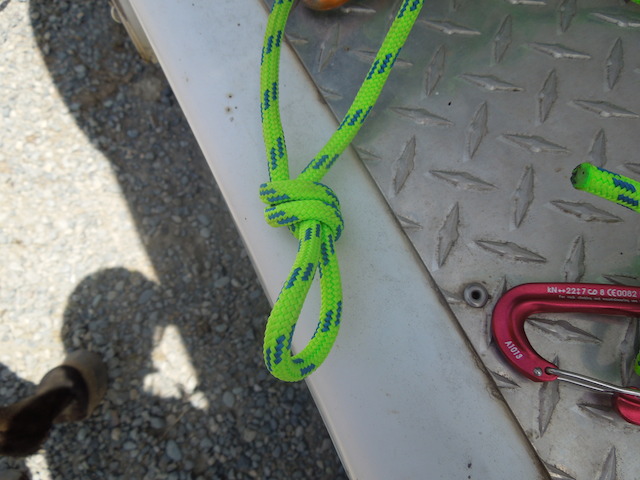
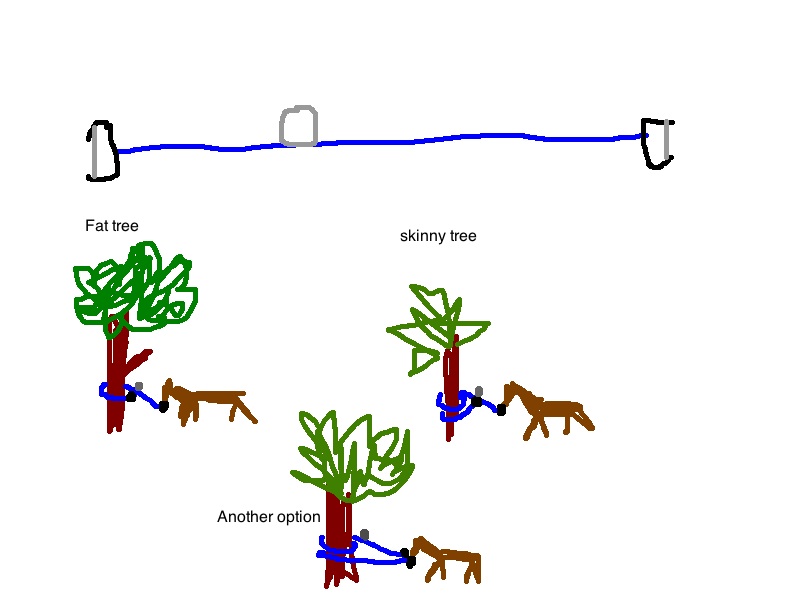
I like a loop about 2/3 down the tie rope (the loops is closer to the halter than the end that you tie with) to give more tie options. On M*’s rope this is an aluminum ring, but since we had *prepared* so well, there was no ring to be found and we used an overhand knot.
As it turned out the over hand knot worked PERFECT and at least for right now I’m not planning on putting a metal ring there. Although a weak metal ring would allow another break away point.
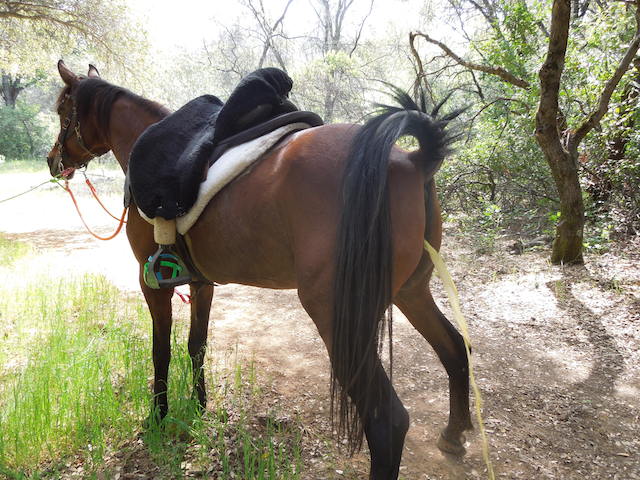
The other tack change we did was to set the reins in such a way they couldn’t flip over her head, or fall down by her ears.
Tying and untying is the most inefficient thing you do during a ride and tie. Fixing the center of the reins to the saddle would eliminate having to tuck them over the saddle when tying, and it meant that as long as I had a good grip on the tie rope when mounting I didn’t have to worry whether the reins were flopping around or whether she would get caught up in them. It also lesssened the chance that they would fall forward and she would step on them while tied up.
It worked better than I even dared to hope. There was enough loop that I still had full control of the horse while in the saddle, and she could graze and look around while tied without getting them tangled.
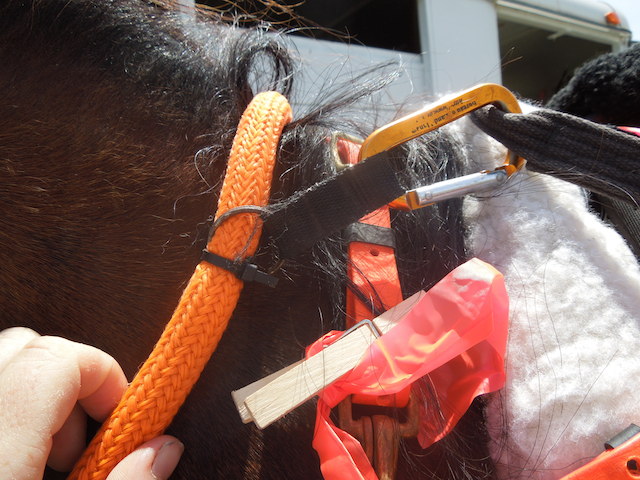
The last step step was to tie surveyor’s ribbon onto clothes pins and each of the three partners take a handful. These were to mark turns so that the person coming behind could always be sure where the partner in front had gone. This makes practices a LOT more efficient – less waiting around at intersections to make sure the other person knows where to go.
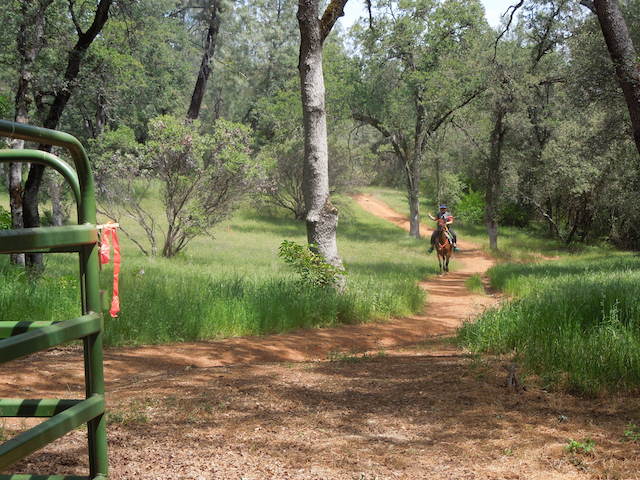
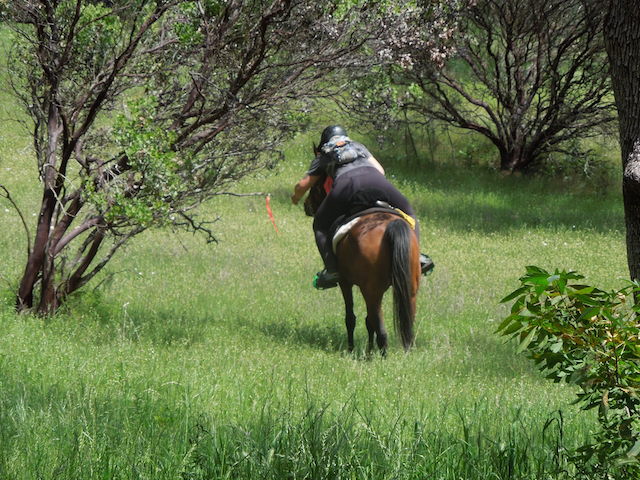
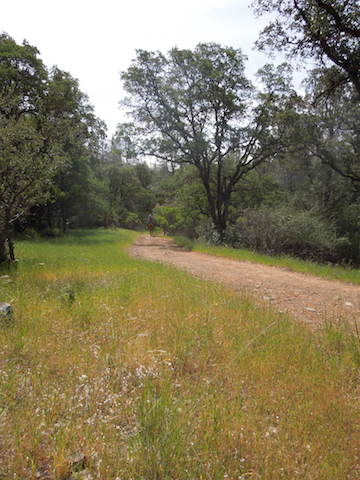
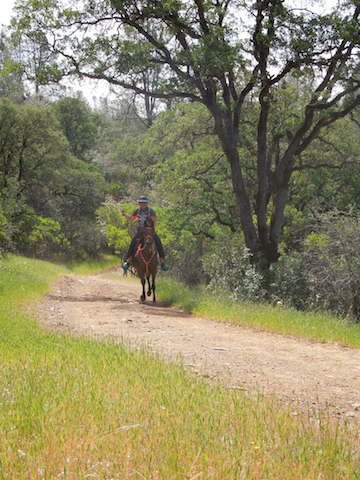
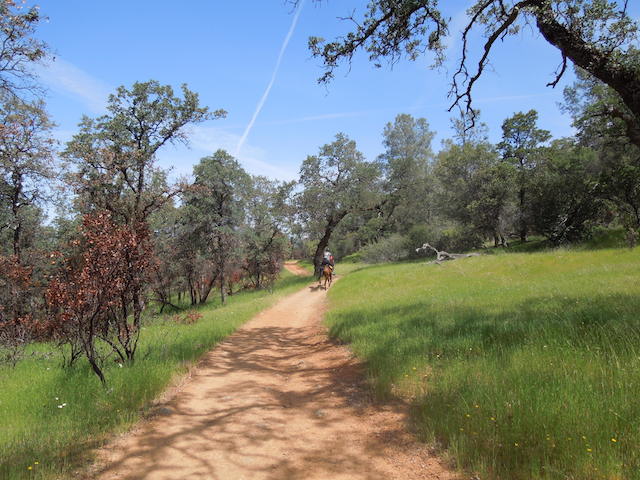
Here’s a nice series of pictures that shows how it works.
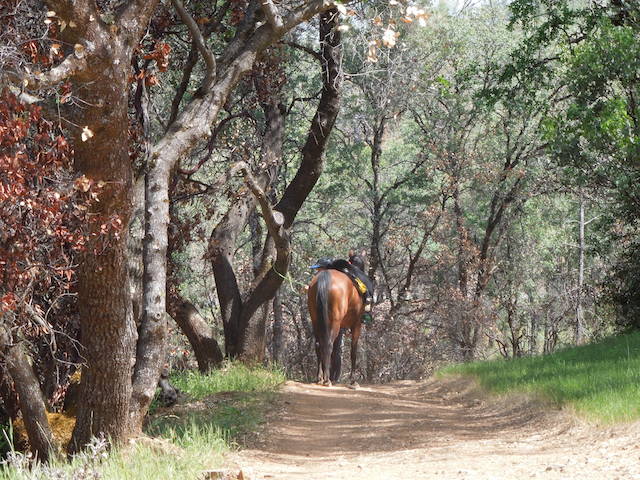
The runner has placed a ribbon as they ran ahead…..
Here the rider removes a ribbon as they pass. It works in reverse too with the rider in front if they have passed their runner.
FINALLY we were ready to hit the trail.
During a race the strategy will be to put the faster runner up front (me). As soon as Funder on Farley catches up, she hands me the horse and I take off. I ride an appropriate distance, tie the horse, and then take off running until Funder catches me again.
Tying is the most inefficient part of ride and tie and the above strategy means there’s one tie and one hand off.
For practice, BOTH people tying, even while it’s more inefficient, can be better because:
- The runners and the horse aren’t pushing as hard. As a result it can be hard to get enough distance between the partners – you end up tying the horse just as your partner rounds the corner behind you, they ride for a laughable 30 seconds before catching you etc. If the rider is always riding past the runner and tying somewhere up ahead, it doesn’t matter if you accidentally tie the horse as your runner is coming into view behind you – because they are going to continue to ride past you as you run.
- Tying and untying is the hardest part for the runners and the horse. Especially with a horse like Farley who has never done this, and Funder who hasn’t done RnT before, it’s the TYING we need to practice. By each of us riding PAST each other and then tying Farley up ahead, we each got to practice tying, and Farley got to practice BEING tied twice as much.
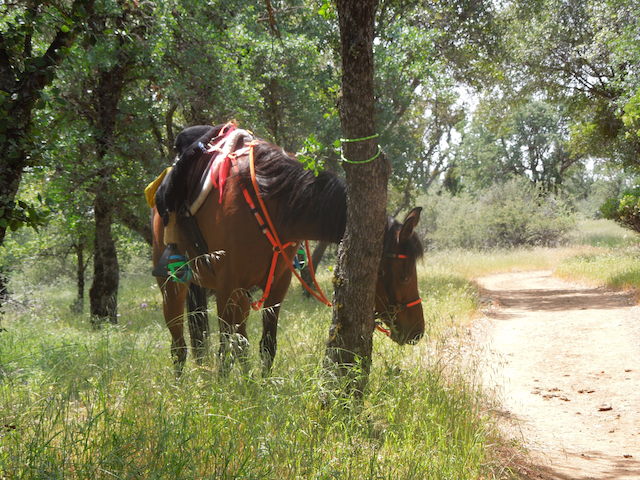
In the beginning Farley tied like this…forlornly watching her person run away.
Then she started peeing and eating during her ties. She’s getting the idea that this is her break!!!
Finally about 30 min into our little adventure she started turning around and watching for the running coming behind.
In the picture above, once she saw me she started grazing and refused to demonstrate her watching for me again. Too slow with the camera!
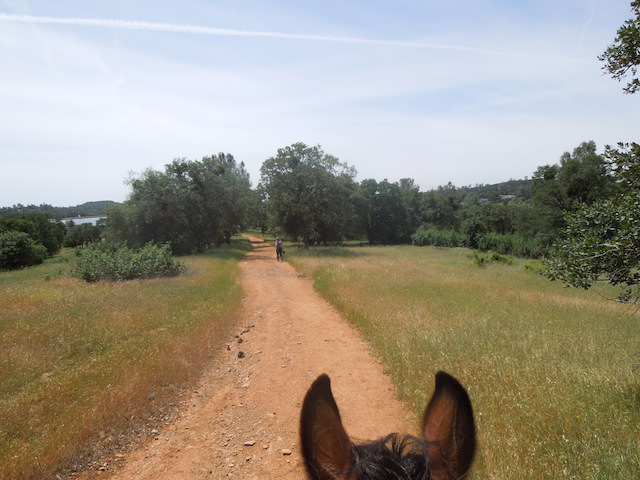
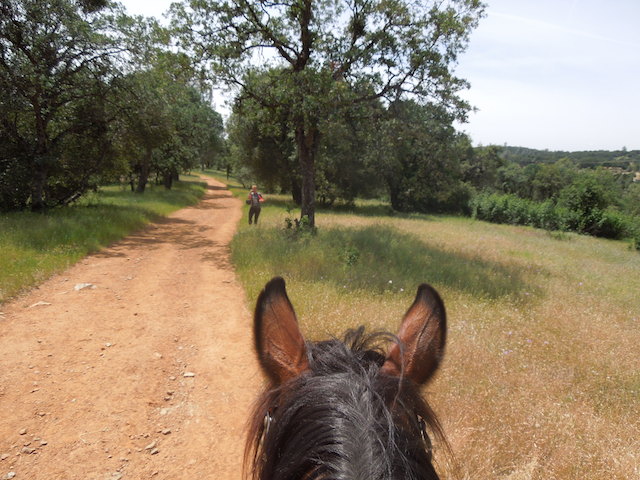
The best thing about this type of riding is that it provides a lot of opportunity for pictures (and the opportunity to get a taste of the effort to goes into ride pictures by the ride photographer!)
Almost right…..
After some trial and error, Funder and I figured out that on moderately flat ground, riding for 3 min after leaving the runner in the dust and then tying meant the runner had to run 5-6 min of running before finding a tied up horse.
We both agreed that running much longer than 5 min was rather depressing and pout-inducing.
Now that we have our “ride 3 min” baseline, we can adjust that according to terrain – a little shorter for a mostly uphill section when the runner is going slower, a little longer for a down hill section where the runner is going faster.
That baseline number changes for each RnT team depending on the speed of both the runners and the horse. RnT practice is a good place to experiment and communicate with your partner to figure out what that baseline is!
As you see your partner on the trail – either to pass or to hand off depending on your strategy – you should be communicating whether the tie length was just right, too long, or too short.
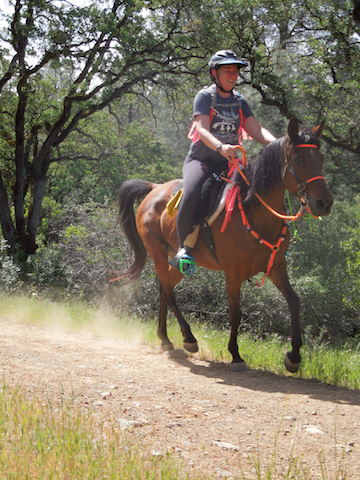
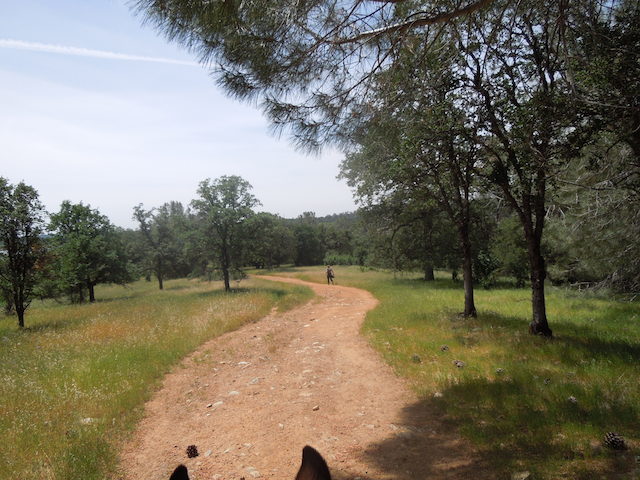 Near the end I attempted to take pictures at a trot. Getting ears AND the runner AND a clear photo was…..hard 😛
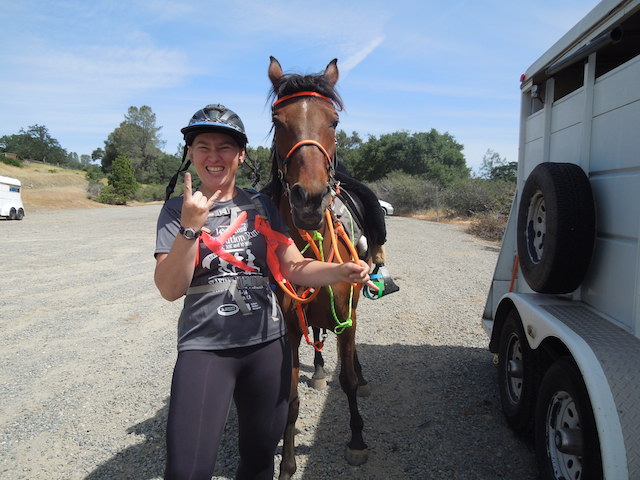
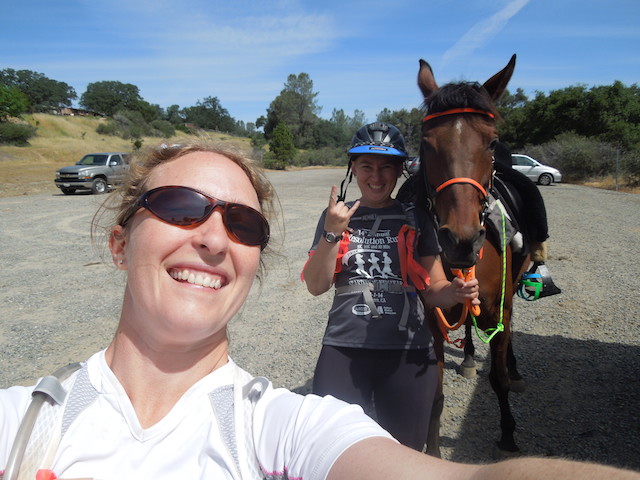
In true blogger fashion of *course* we took pictures of each other taking pictures.
Ride and tie remains the most fun I’ve had on horse back. I get so happy and giddy and bouncy it makes me quite stupid.
I’ll let Funder tell you in her own words how her first RnT experience went – I’m sure there will be a blog post at some point up on her blog: fundersgoodidea.com …..But I think she liked it :).
Depending on my on call schedule for a particular externship, we will be doing a short course ride and tie at the end of the month as prep for championships!
P.S. We passed a water trough and I resolutely dunked my head into it to practice doing it and it wasn’t absolutely horrible. It was doable. The key was knowing it was coming up and deciding before hand that I was absolutely getting my head wet.






Enjoyed your post about RnT’s – great tips – thanks. Hope to do one someday.
Y’all make this sound SO much fun. So much. Also, I super support the use of climbing gear with horse play, haha. Its nice to know I’m not the only one doing that. My strictly-climbing friends would probably shoot me if they knew.
Have read this story from both sides & find that you two + Farley are Great! How much fun can you have while still calling it “sport”? 🙂
[…] Mel’s post goes into gear and theory in a little more detail (and she has the pictures of me!) so make sure you read it too, if you haven’t already. […]
I have done 1 12 mile RnT and really enjoyed it. My hubby is an ultrarunner (doing his first 100 mile run in June) so it was a good partnership. I have two questions for you though because without fixing these issues he refuses to do another one with me.
1) Helmet. We always wear one so leaving it behind isn’t an option. His head is ginormous (XL helmet) and mine is normal human size (size S helmet) We can’t share. Running with it was a nuisance. I don’t like it banging my horse if I tie it on her. What do you do with it?
2) Stirrup length. I’m 5’4″ and he is 5’10”. Do we just lose the time to lengthen/shorten them with each toe/hand off?
Thanks!!!
1. They make a double stirrup that is basically 2 stirrup beds on stirrup! If you are short, then you would use the top piece and if you are the taller person you use the bottom one. Usually this seems to work out. I’m not sure where to get them, but if you go the website and ask the question then the people who do have them (I see them at RnT’s here) should be able to tell you where they got them (or how they made them).
2. The helmet thing is a PITA. I too wear a helmet all the time. Except sometimes I dont during RnT’s. And that’s just the way it is. Both my partners carry their helmets on their arms when they run. I leave mine on. I usually start with it, and will ride the first loop with it, and then I ditch it. A bike helmet can work for some people. I did my first RnT in a bike helmet. Yep it has less protection – but finding that balance between no protection for some of the time, less protection for the whole race, or doing a risk/benefit (heat stroke can kill you too) based on when the highest risk is (highest risk of horse injury in beginning, higher risk of heat stroke at end) etc. It’s a very personal decision. Most people in this area don’t seem to ride with one during a RnT. I would be nervous without at least starting with one.
I probably would never have been particularly curious about RnT if you hadn’t mentioned last year how very much you enjoy it and written about your experiences. This post helped me better understand the little details and intricacies of this particular sport. It sounds like a ton of fun!
I love your Paint drawings! Lol
I am so excited for the three of you! I’d love to come watch.. but it’s the same day as Fireworks this year 🙁 I shall have to live vicariously through photos instead! Someday, maybe, I’ll get secure enough in my running to give RnT a try.
You. Are. So. Cool.
All three of you!
Some years back, Jim and I, with our endurance juniors (who were almost not juniors anymore) were all set to do a “novice RaT” associated with an endurance ride. Then the ride got cancelled because there was so much snow on the trail that they couldn’t find the trail! So I pouted and pouted, and the current RaT org president felt sorry for us and invited us out to his place for an unofficial ride/house party. Truly, a wonderful time. We weren’t practicing to be competitive, so we decided that the kids would tie at the bottom of hills, and we would tie at the top. 🙂 As strategies go, it’s not awesome, but it made us happy.