Knots you ought to know
| February 18, 2014 | Posted by Melinda under Uncategorized |
I like knots. I’m just not any good at remembering any of them that I don’t use regularly. So, when faced with a novel situation and a rope I often muddle about haphazardly putting together something that works, while knowing that there was the perfect knot in existence that would have elegantly solved my dilemma – if I could but remember it.
Welcome to today’s post – 5 knots you should practice and commit to muscle memory since you will have the occasion to use them at some point, thanks to our 4-legged equid companions and their accessories. .
The only knot that I was 100% proficient with prior to a food animal lab where these knots were reviewed was the simple slip knot that I use to tie my horses. The other 3 I tied and retied until my hands knew the movements. A couple weeks later we reviewed the knots at another lab and even though my brain had forgotten the particulars, my hands remembered!!!!!
Knot 1: The slip knot
Most of you know this one, or at least a variation of this. This knot tightens under pressure, but can (usually) be released while under tension by pulling on the tail. This is THE most common knot I tie on a daily basis – from lead ropes on hitching posts to bailing twine I use to tie buckets to trailers.
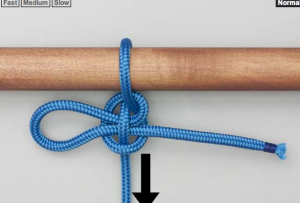
Here’s a slip knot that I particularly like – the Mooring hitch. It doesn’t slip while I tie it compared to the more simple slip knot, or untie itself quite as easily – but is still quick release.
Click here for a link to the video
Knot 2: The Bowline
The bowline creates a loop that does not slip. You can use it as the neck loop for an emergency rope halter, or any other time you need a loop that won’t constrict under pressure. I use this as part of a complicated system for tying up a cow’s front leg to examine it.
We were shown 3 or 4 different ways of tying a bowline. This is my favorite.
Tail of the rope is on the left, long side is on the right.
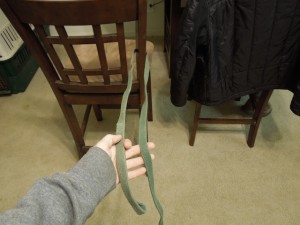
I hold the rope in the palm of my hand….
And flip my hand over to make a loop.
I then reach through the loop I just created to grab the rope that is below it. In the picture above, you can see the rope I’m going to grab as the vertical line in the middle of my rope circle, just above the knuckles of my right hand.
Pass the tail of the rope that is in the left hand through the loop you just created in your right hand.
Passing the rope through….
After passing the end through the loop, I then pull it up and back towards the left….
Gradually tightening as I go….
Making everything snug and fall into place…
Until a solid loop is formed that doesn’t slip.
Here’s a video.
Knot 3: The trucker’s
This is a knot I grew up watching the adults tie down truck loads with. I could never remember how to do it. This is another one where there’s a million different ways – here’s how we were shown in class. It’s hard to tie unless there is a little tension on the long end – and the whole thing is quick release.
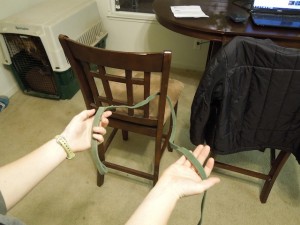
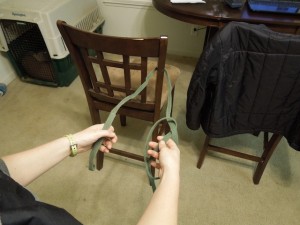
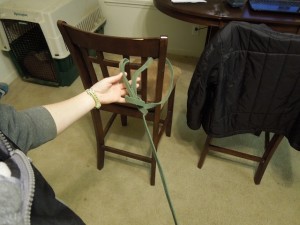
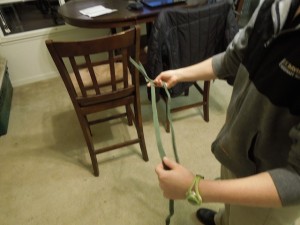
I start in the same position as the bowline above, except now I’m to the side of the rope. Imagine tension on the long line I hold in my right hand.
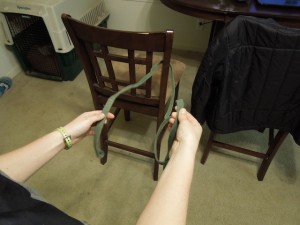
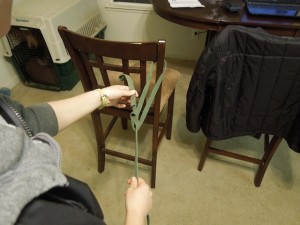
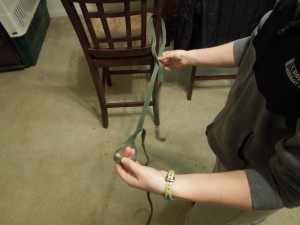
I throw the end of the rope that I hold in my left hand over the long piece. In the picture below, I’ve already thrown the short piece over. My left hand now holds the long piece, and the right hand is holding the intersection of the long and short piece.
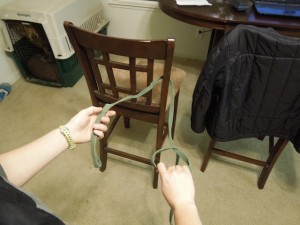
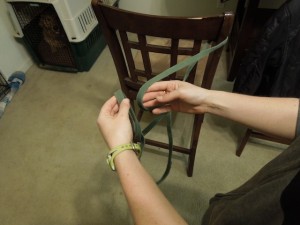
With my left hand, I make a loop by twisting twice.
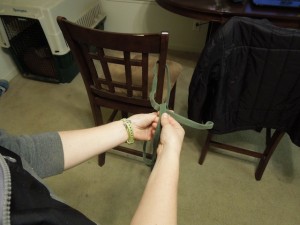
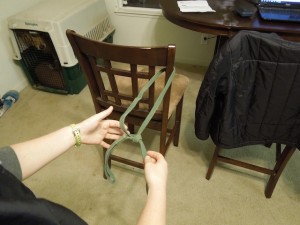
Then I pass a piece of the rope through the loop. The piece of the rope is also part of the “long” piece, on the OTHER side the “intersection”. The short end of the rope continues to just hang over the rope in the center of my hands.
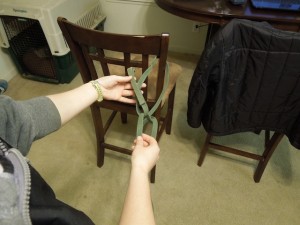
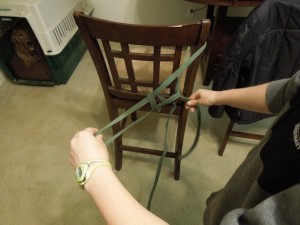
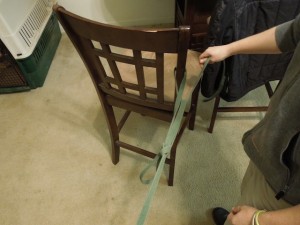
After passing a loop through the twist loop you grab the end of the short piece and pull! In this pic I’m pulling back towards the chair.
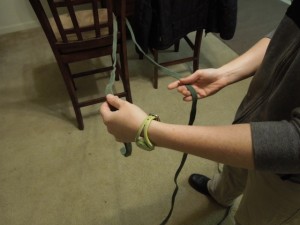
I had my partner (who was taking photos) put some tension on the rope so that the knot would fall into place.
The short end “handle” that I’m pulling on in this picture can pull the object closer by viture of a mechanical advantage. Tie it into place with a quick release when you have the desired tension. (better shown in the video).
A note about the video….I always have my computer on mute so I forget that some people watch stuff on the internet with SOUND. I didn’t have any rope at the house so I’m using a long dog leash and the 3 dogs are going NUTS. In the trucker’s knot video it is TESS who is the offender, and no – I wouldn’t actually shoot my dog…..
Knot 4: Tom fool’s
This is a knot where both loops slip when pulled. It can be tied in the middle of a rope easily and quickly. It’s good for putting over feet, securing with a couple of slip knots and then using to pull and position. I’m not sure where I would use it in every day non-vet life, but I put it here in case you want to bet someone you can tie a bow in a rope without letting go of the ends :).
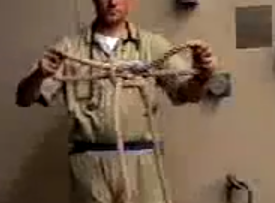
Here’s a Youtube video that is exactly what we were taught in class.
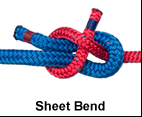
Knot 5: The Sheet Bend
This is a great knot to tie a tail of a horse forward so it can stop hitting you in the face while you do something, or if you need to clean a wound etc. near the back end of the horse. ALWAYS tie the end of the tail rope to the horses’s neck (using a slip knot or similar), NOT another object.
In this picture the blue rope is the horse’s tail folded back on itself. The Red is the tail rope.
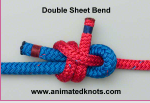
I tend to wrap the tail rope (the red) several times around the tail before feeding it through the “eye” of the tail. This is called a “double sheet bend”
Click Here for a link for tying a sheet bend.






Thank you, knowing how to tie knots is very important.
[…] One year ago: Knots you ought to know […]