Trailer DIY: Lights
| December 2, 2016 | Posted by Melinda under Equine Endurance, Trailer |
Lights.
Own a trailer and I can promise you will have to deal with lights sooner or later.
Or at least I do. Some people apparently don’t feel the need to engage in such trivial activities. I once followed another endurance rider out of ride camp after dark and *all* their trailer lights were out. No clearance lights, brake lights, clearance lights OR tail lights. It was scary as **&^&(*.
I *knew* there was a horse trailer in front of me (actually took me a little to figure out because it was just a dark space on the windy dark mountain road in front of me and the truck disappeared weirdly) and it was still really REALLY hard to keep a safe distances and figure out what the vehicle in front of me was doing.
I tend to replace things like brake/tail/blinker lights that go out right away. The annoying clearance lights get addressed every couple years. Technically you can get a ticket for having clearance lights out…practically I don’t know of anyone being pulled over and ticketed just for that.
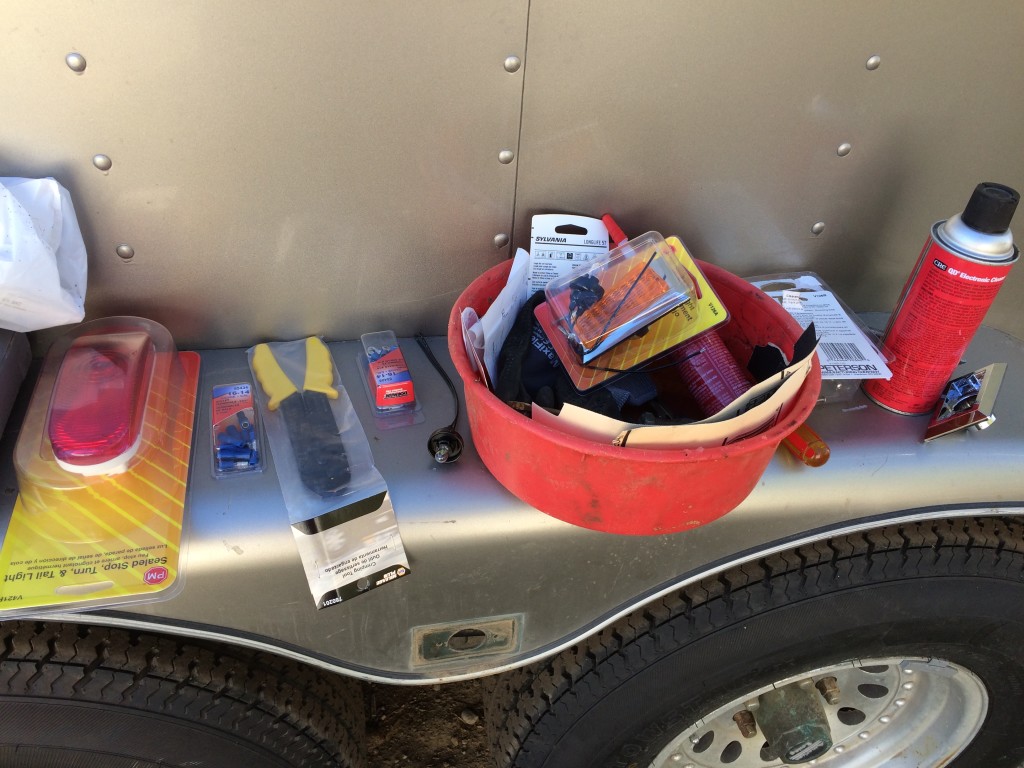
Along with new tires and sealing the floor getting the lights done was part of the task list I needed to do before I really felt like I could use my new-to-me trailer. Through a little trial-and-error (and 14 million trips to the hardware store), this DIY project now complete!
Some are easy
A couple of weeks after I bought the trailer a tail light went out.
The tail light was easy – self contained unit that I took to the auto store, matched the part number, plugged it back in and nestled it into the rubber collar.
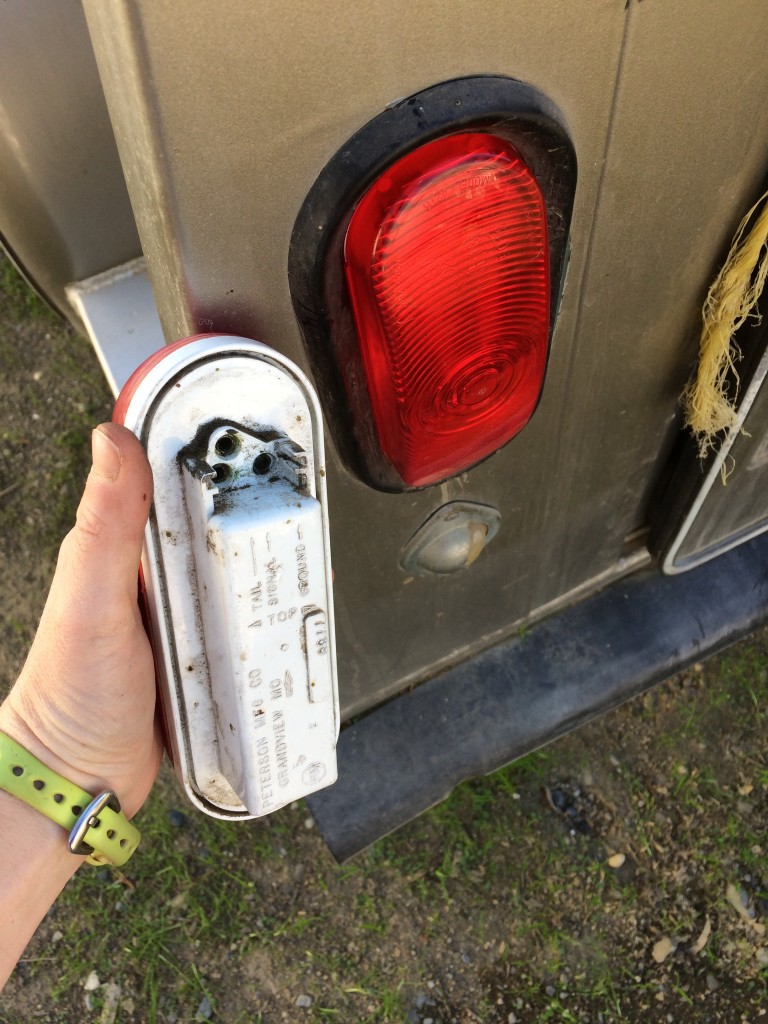
My favorite kind of light. No hardware or tools required. Plug and play.
Voila!
…it didn’t work.
Took it back out, realized the ground wire was loose, tightened the ground wire, checked the old light to make sure it wasn’t the problem (nope, still didn’t work), put new light back in.
Voila! Working light!!!!!
…And some are annoying
By the time I owned the trailer for one month, NONE of the clearance lights were working.
Trying to put off the inevitible – replacing all the lights – I tried various solutions.
- Replacement bulbs (managed to salvage 1 light).
- Sand contact points for bulb with dremmel.
- Use electrical grease to crease bulb inset.
- Give up and buy replacement lights.
Here’s the catch. The manufacturer has modified this particular light design and while it still fits and looks the same…it has a different bulb, a ground wire instead of just a power supply, AND the screws used to mount the light are in a different location.
*headdesk*
I spent a couple weeks in denial and scoured the internet for a supply of the old lights before I accepted that yes, not only was I going to have to buy and replace these lights, I was going to also have to re-drill all the mounting holes and figure out how to ground the lights in an aluminum trailer.
*sigh*.
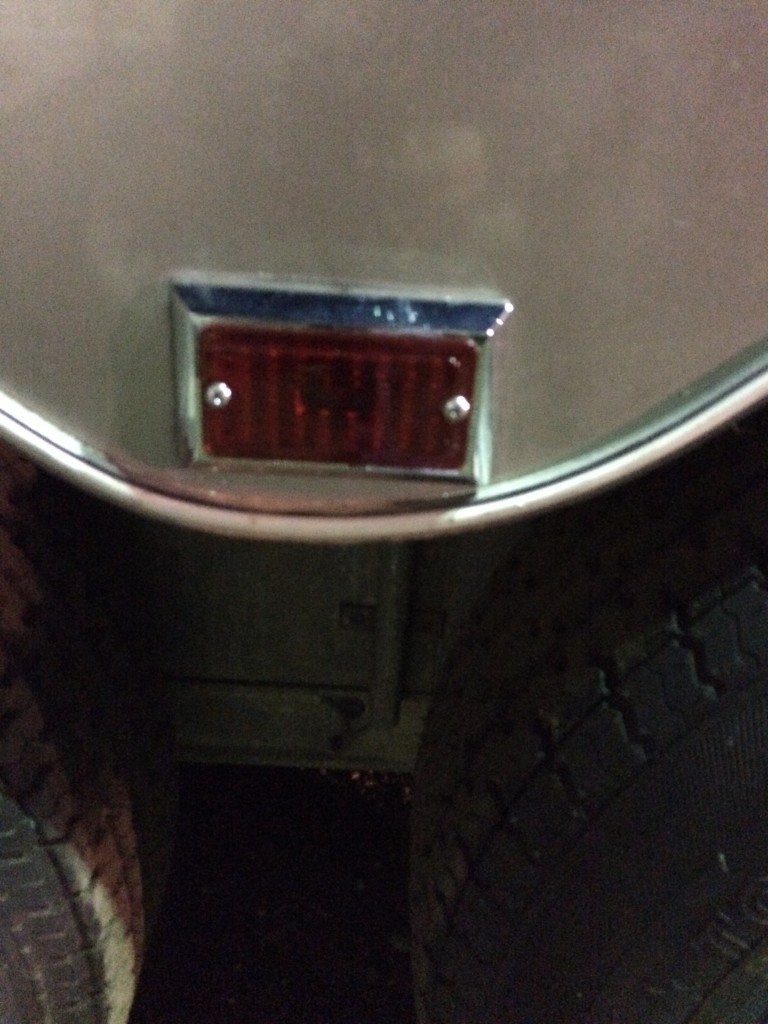
Here’s a slightly blurry picture of what lights look like. As far as clearance lights go, I like this inset design and how the “guts” of it are set up. Working on them was actually a lot easier than some of the other clearance lights on other trailers I’ve used over the years.
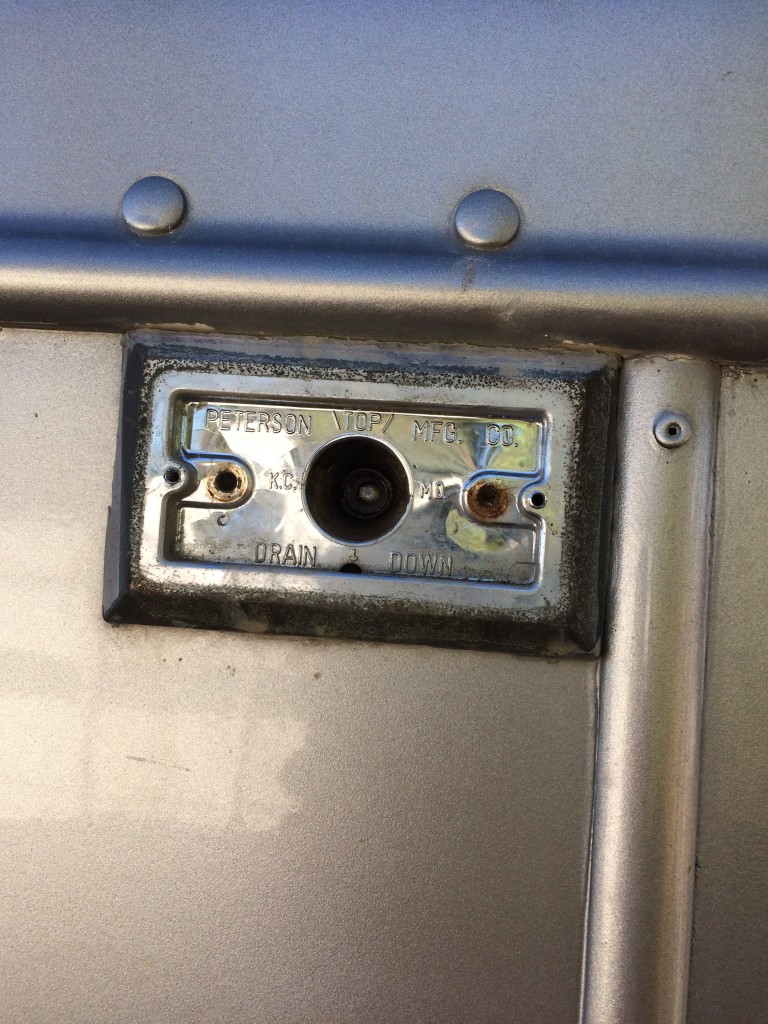
One of the old lights with the lens cover removed. With the mounting screws removed, the light pulls away revealing the wiring. This is also accessible inside.
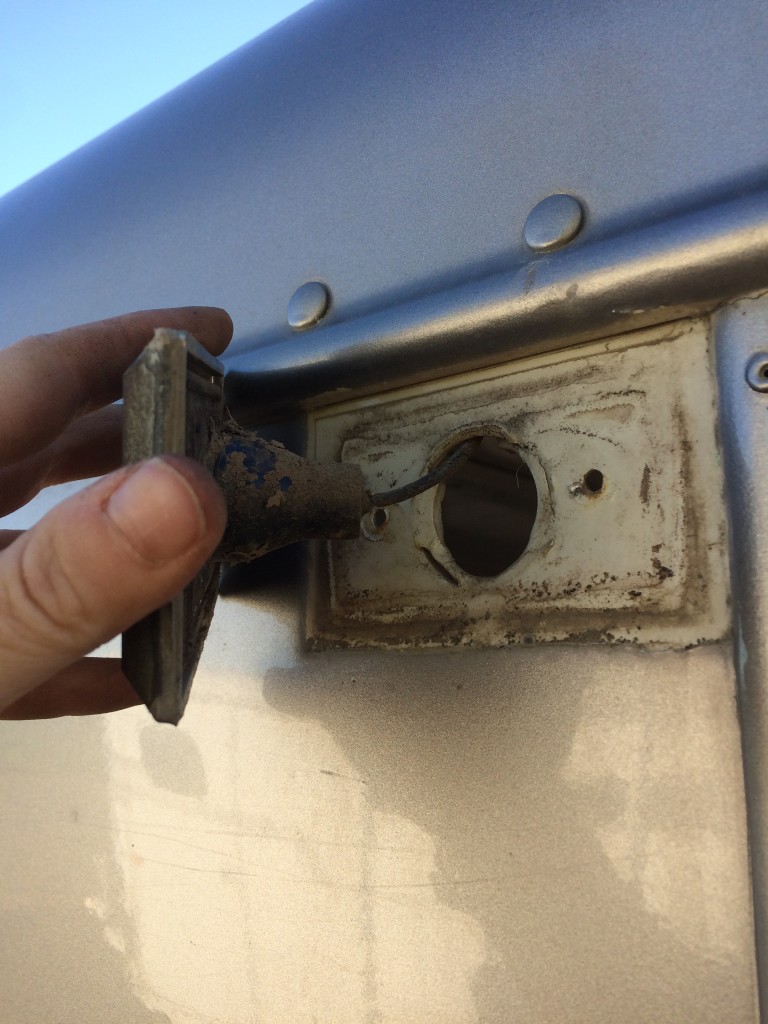
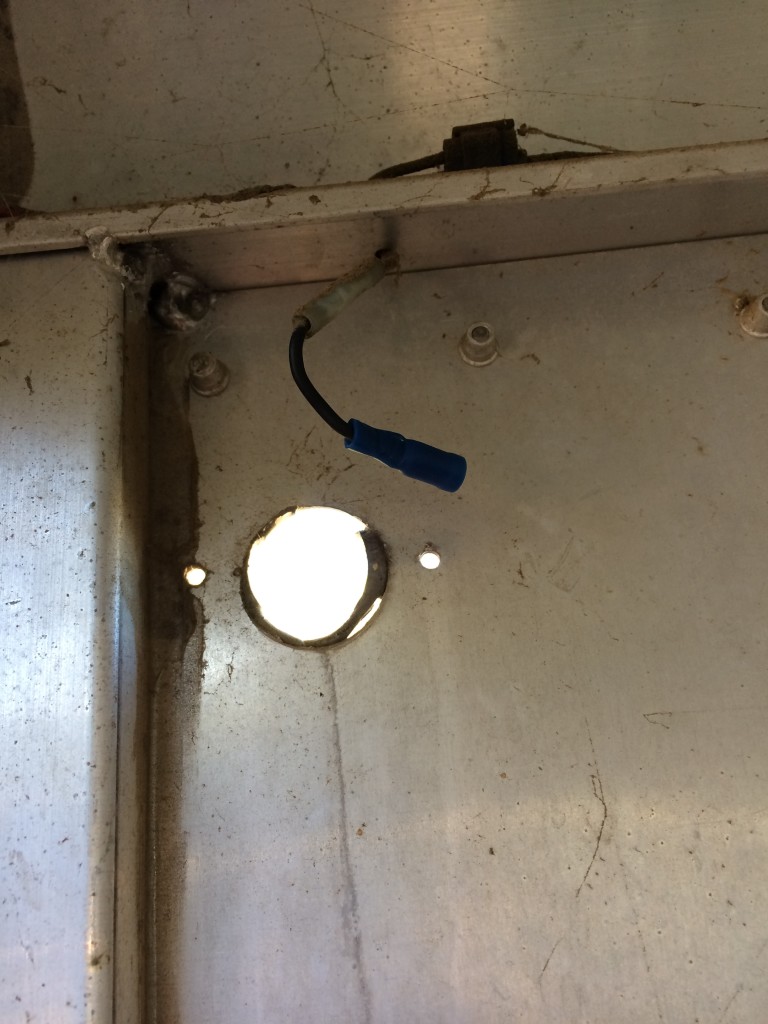
Note the ONE wire that goes to the light. The old lights were not grounded using a second wire.
Here’s a picture of the inside after snipping the old light off. (I’ve actually already crimped a connector onto the end of the wire, I talk about it further down).
ONE wire.
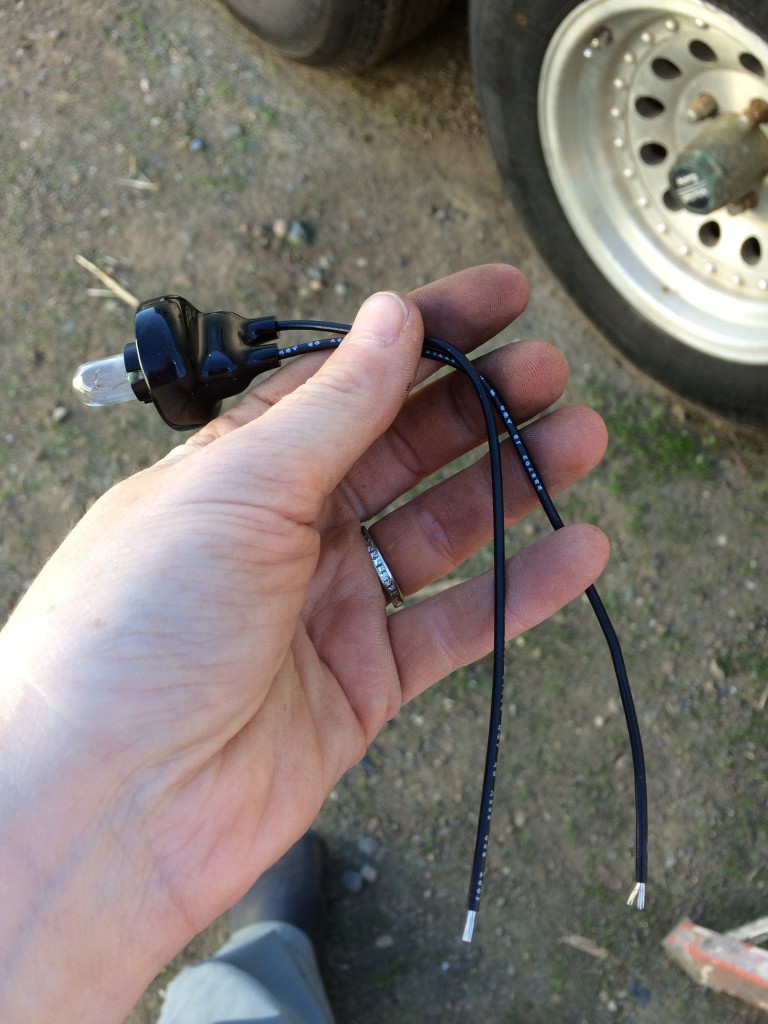
The new version of the light has TWO wires. One for power and one for ground. *sigh*
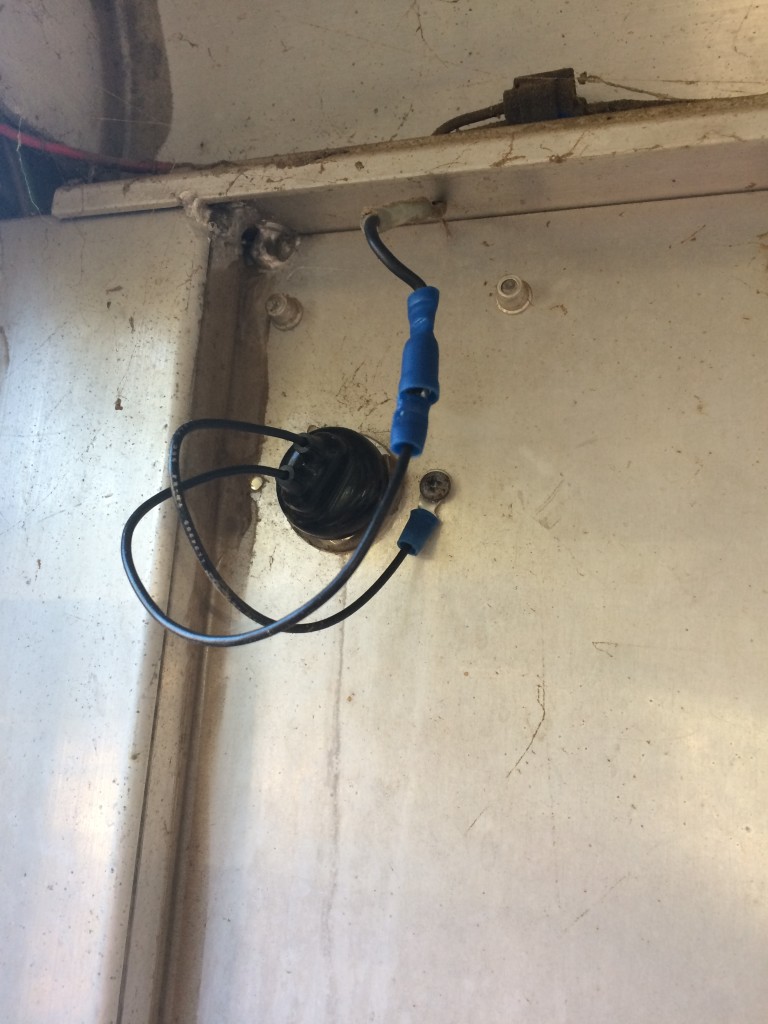
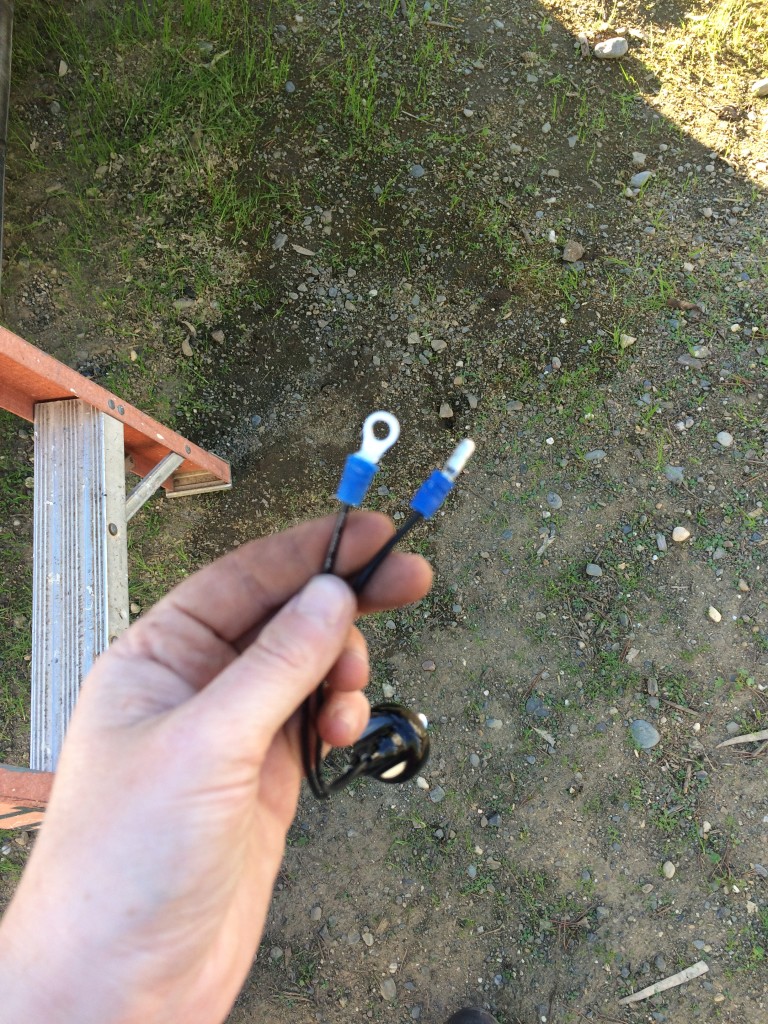 I decided to use crimp attachments to make these lights as “plug and play” as possible in case I needed to replace them in the future. I attached a circle thingy to one end to use as a ground, and a female plug on the other end to go to power. On the trailer side I crimped a male connector onto the wire going to the light. A couple photos above you could the male connector on the wire coming from the trailer. Here’s a photo of the finished product.
New light installed. On this light I used an existing screw hole to mount a ground. On the other lights I put the ground wire on the back end of the mounting screw that was poking into the inside of the trailer and used a nut to secure it against the trailer on the back side of the screw.
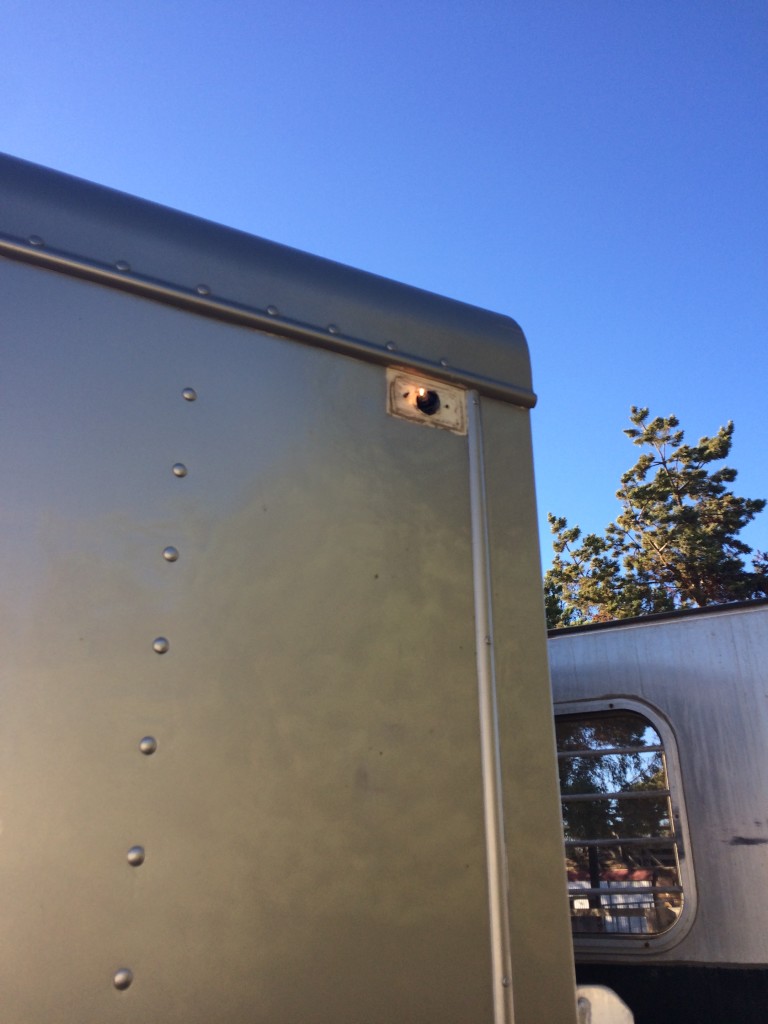
It works!!!!!!
Next up is following Trails with Major’s lead and work on the tack room.
But in the meantime I’m good for the road which means more trail adventures!


